The options list is a dynamic list of actions that you can perfrom with your invoice such as Preivewing and printing of Invoices, sending via Repairshop email to your customers or insurers and payment processing of invoices.
We show you in more detail what each action can help you do for everyday invoice management.
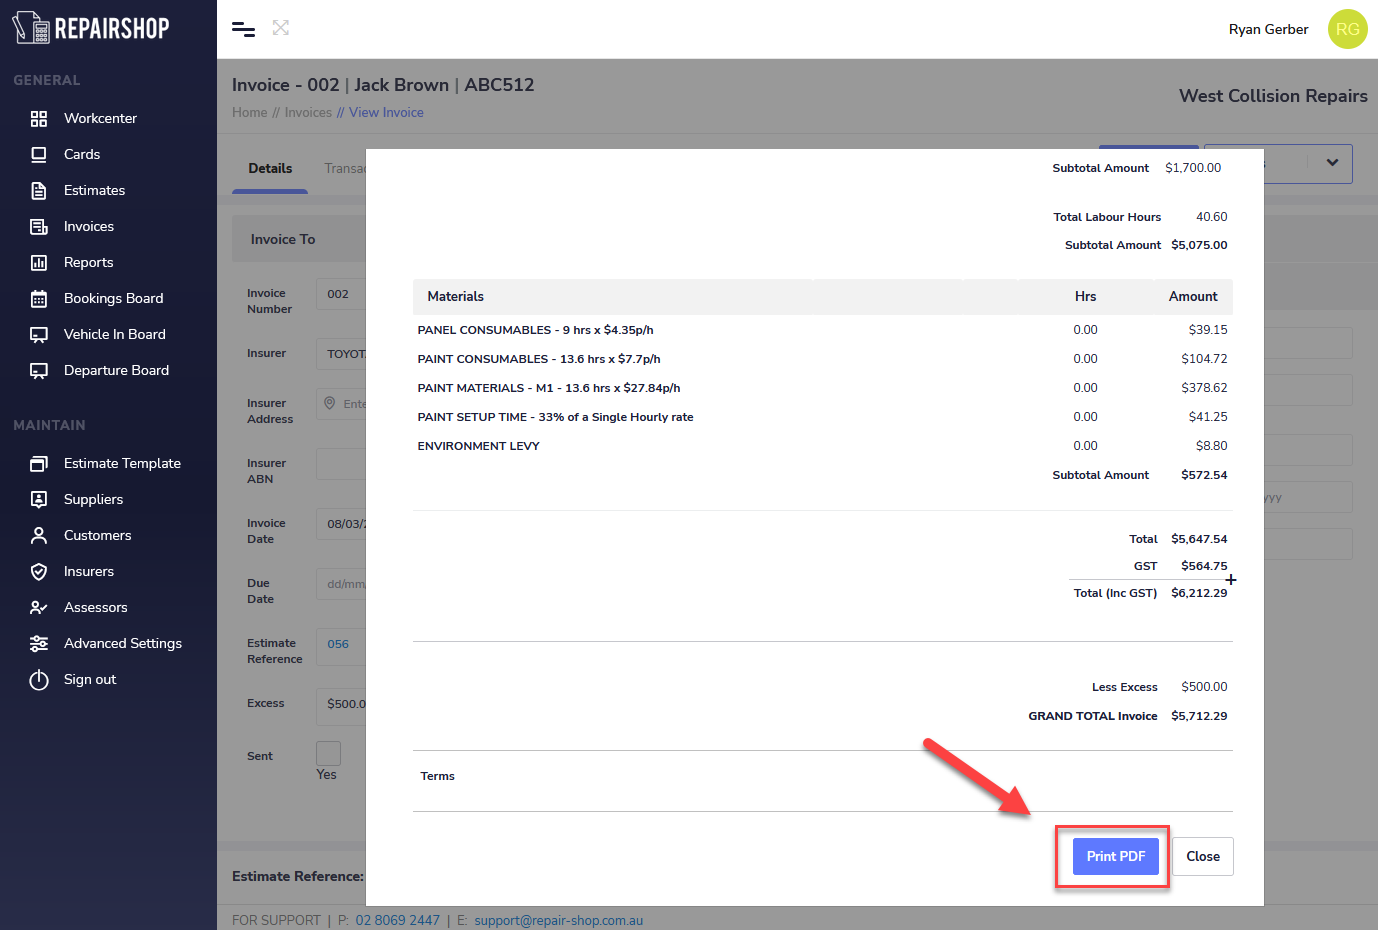
¶ Preview Invoice
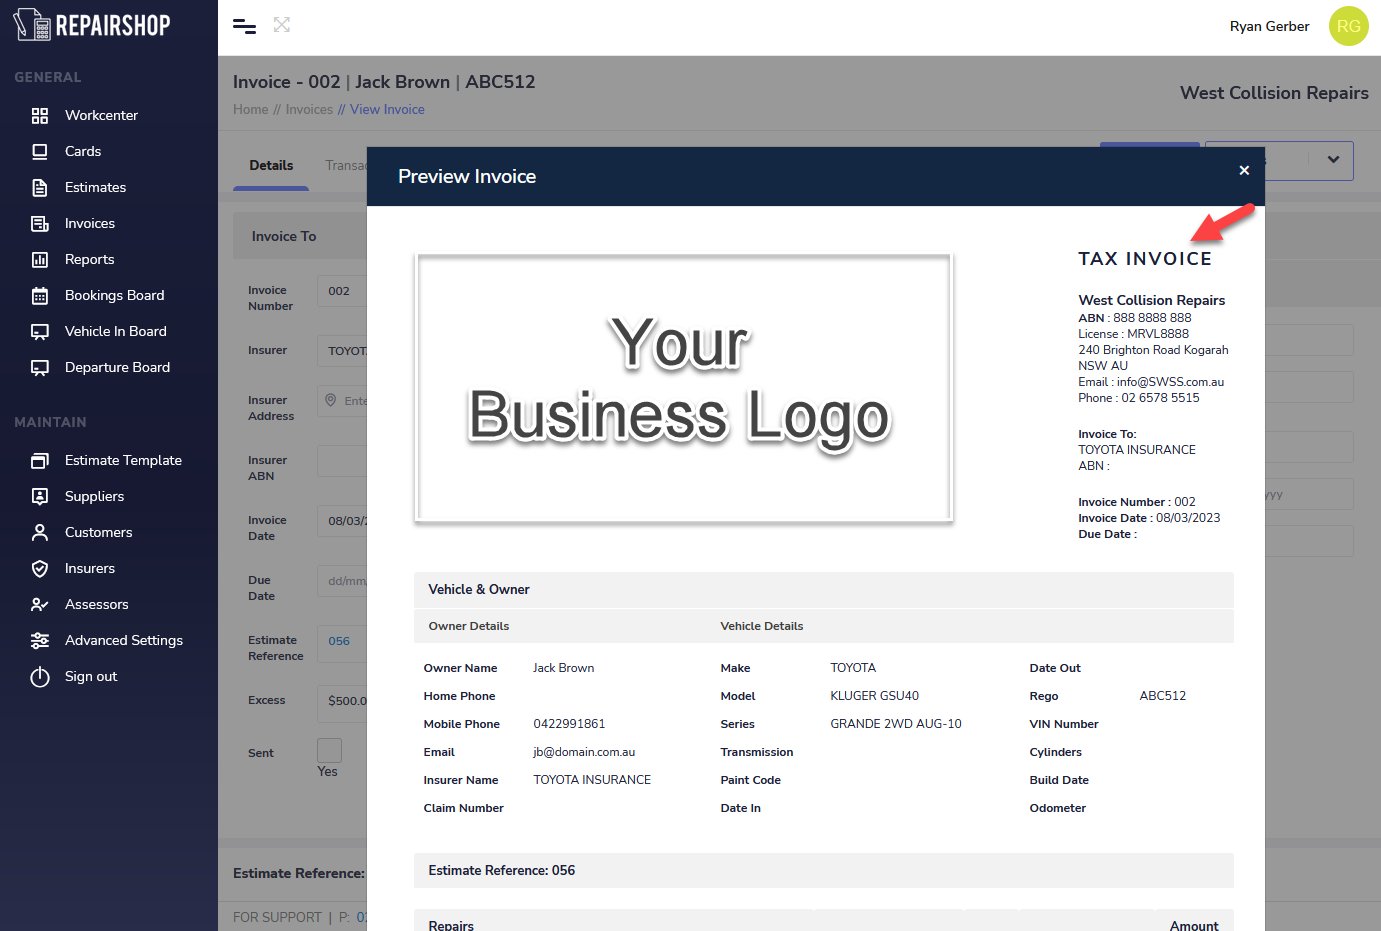
The preivew invoice option lets you view the Excess, or Complete invoice in the same format as it will be printed or Sent by Repair-shop email to a customer or insurer.
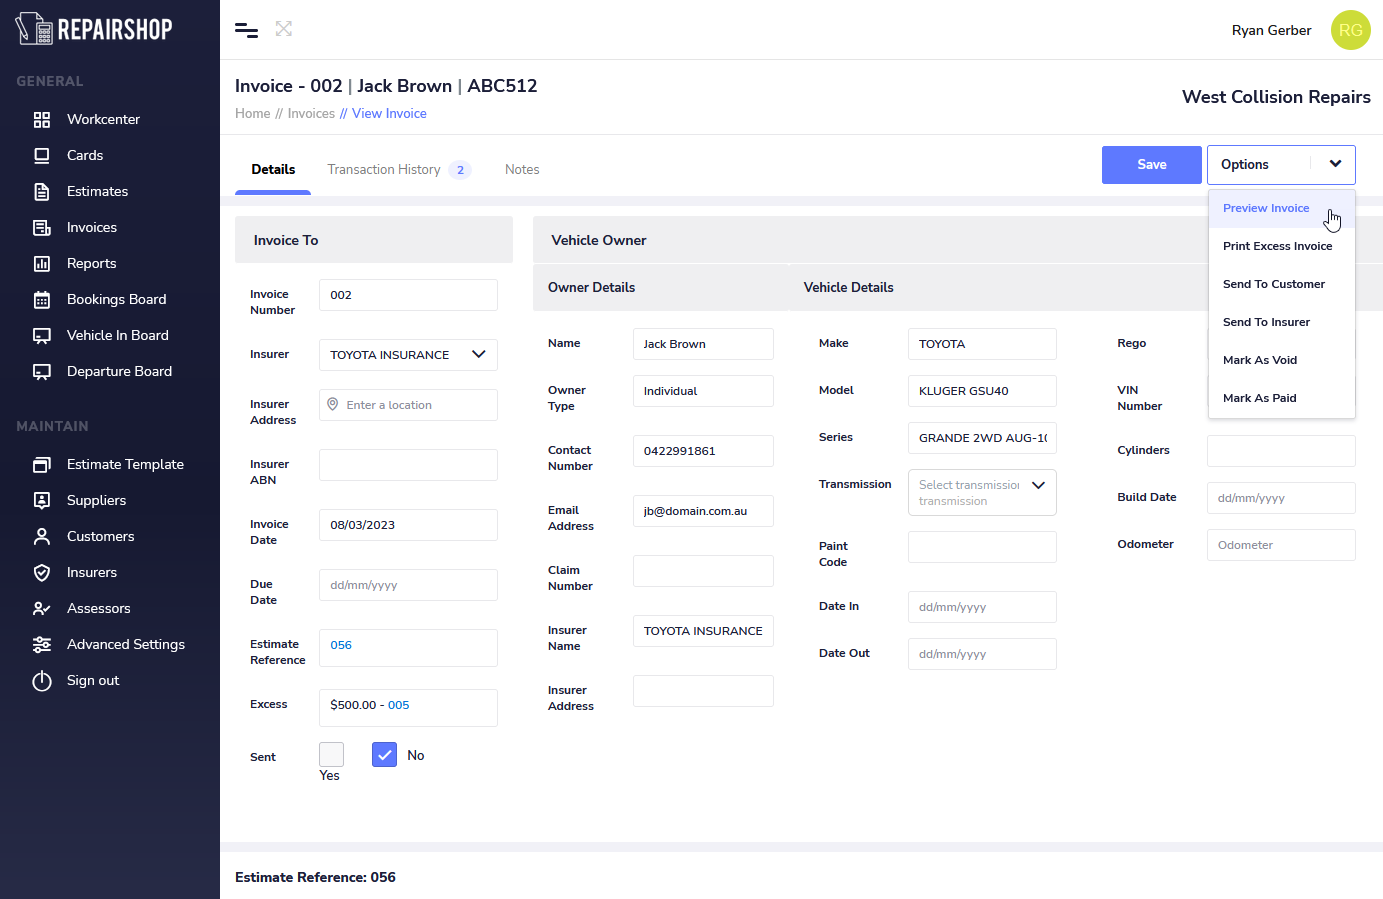
Repair-shop creates a commercial properly formatted TAX INVOICE with your Business information including ANB, Repairers License number and business contact details to name a few. All Invoices can have yoru business logo. This is can be added by you in the Advanced Settings > Business Profile page.
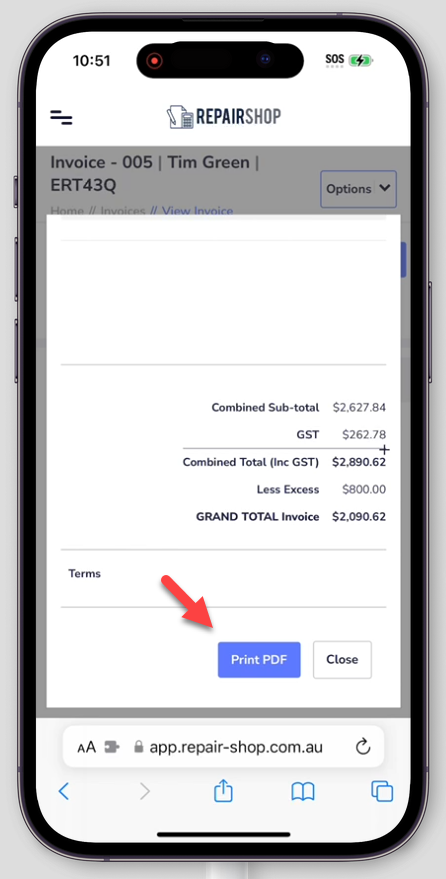
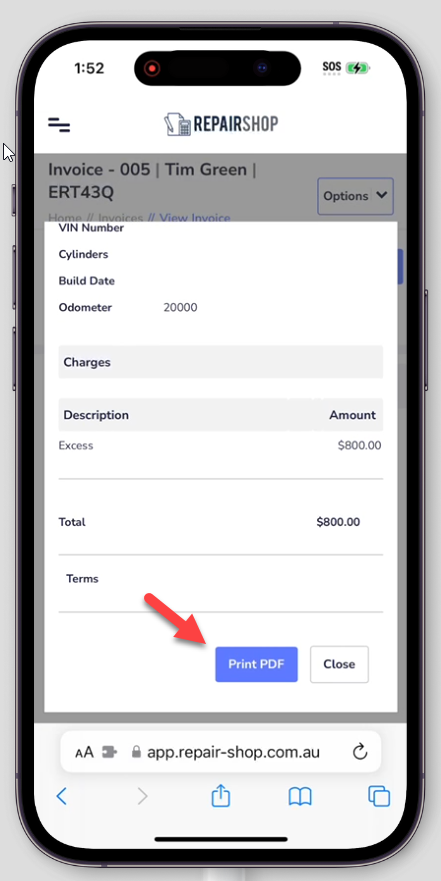
You can view invoices for your customers when you are on the go from you mobile phone/Tablet also
(via IOS or Android - No app to install just use your phones browser to login to Repair-shop)
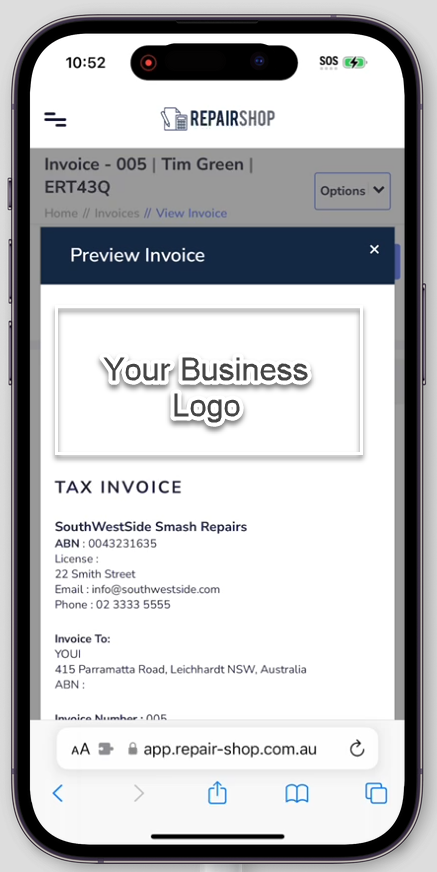
Easliy print/download a PDF copy of the Invoice for your customers from your PC or Mobile phone / Tablet (via Air Print for IOS or Android) to your office printer.
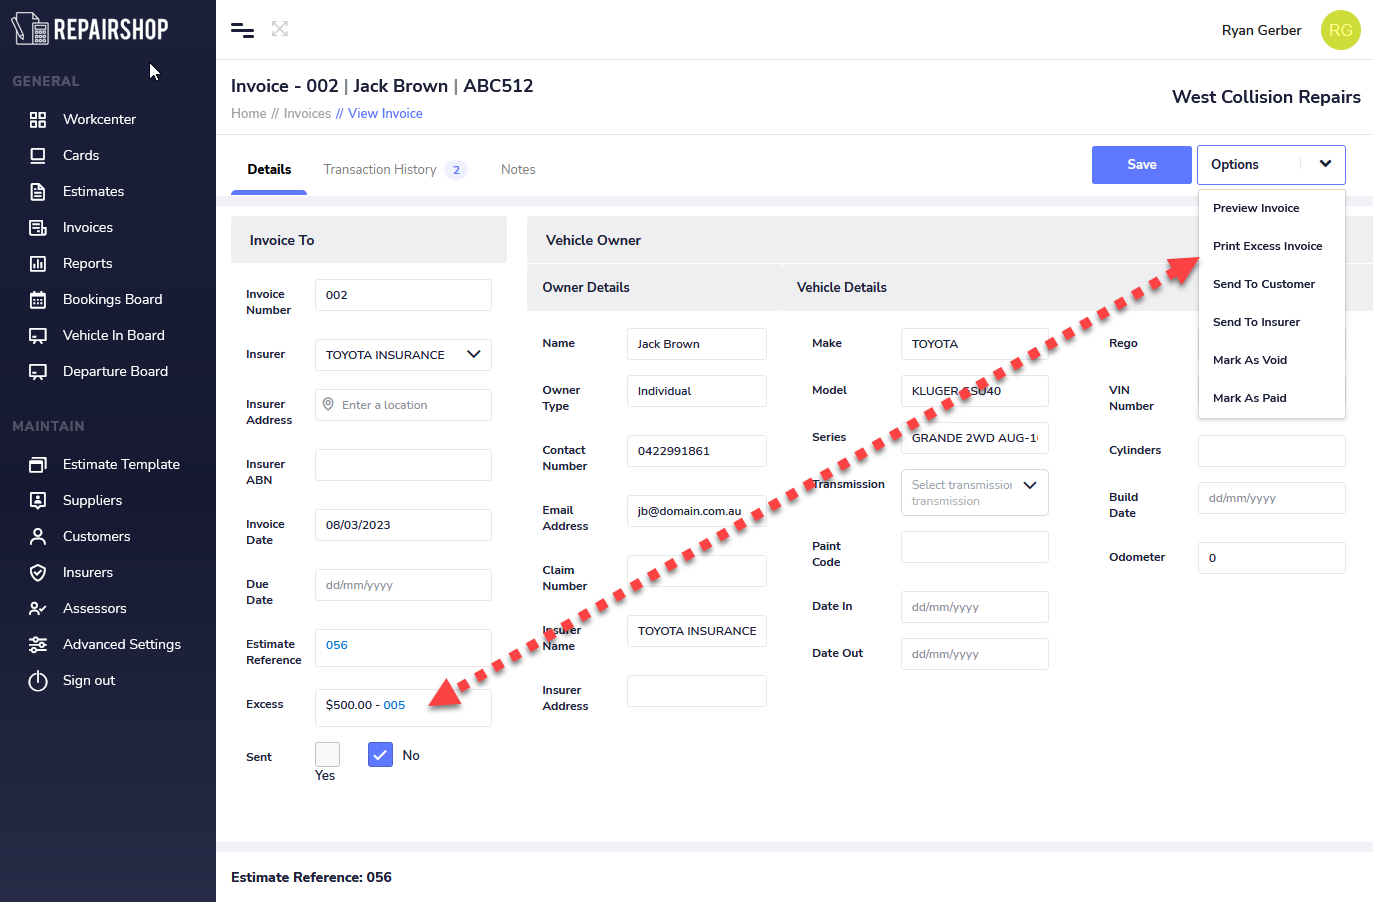
¶ Preview Excess Invoice
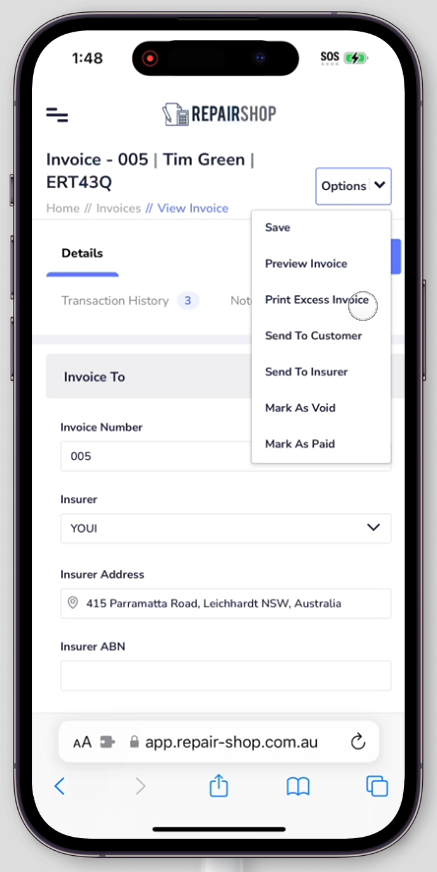
When you are viewing a Complete invoice which has an Excess invoice linked to it, the Print Excess Invoice option appears to make it quick to view it at the same time for printing.
You can initiate a Print Excess Invoice from your mobile phone / Tablet to print (via Air Print for IOS or Android) to your office printer.
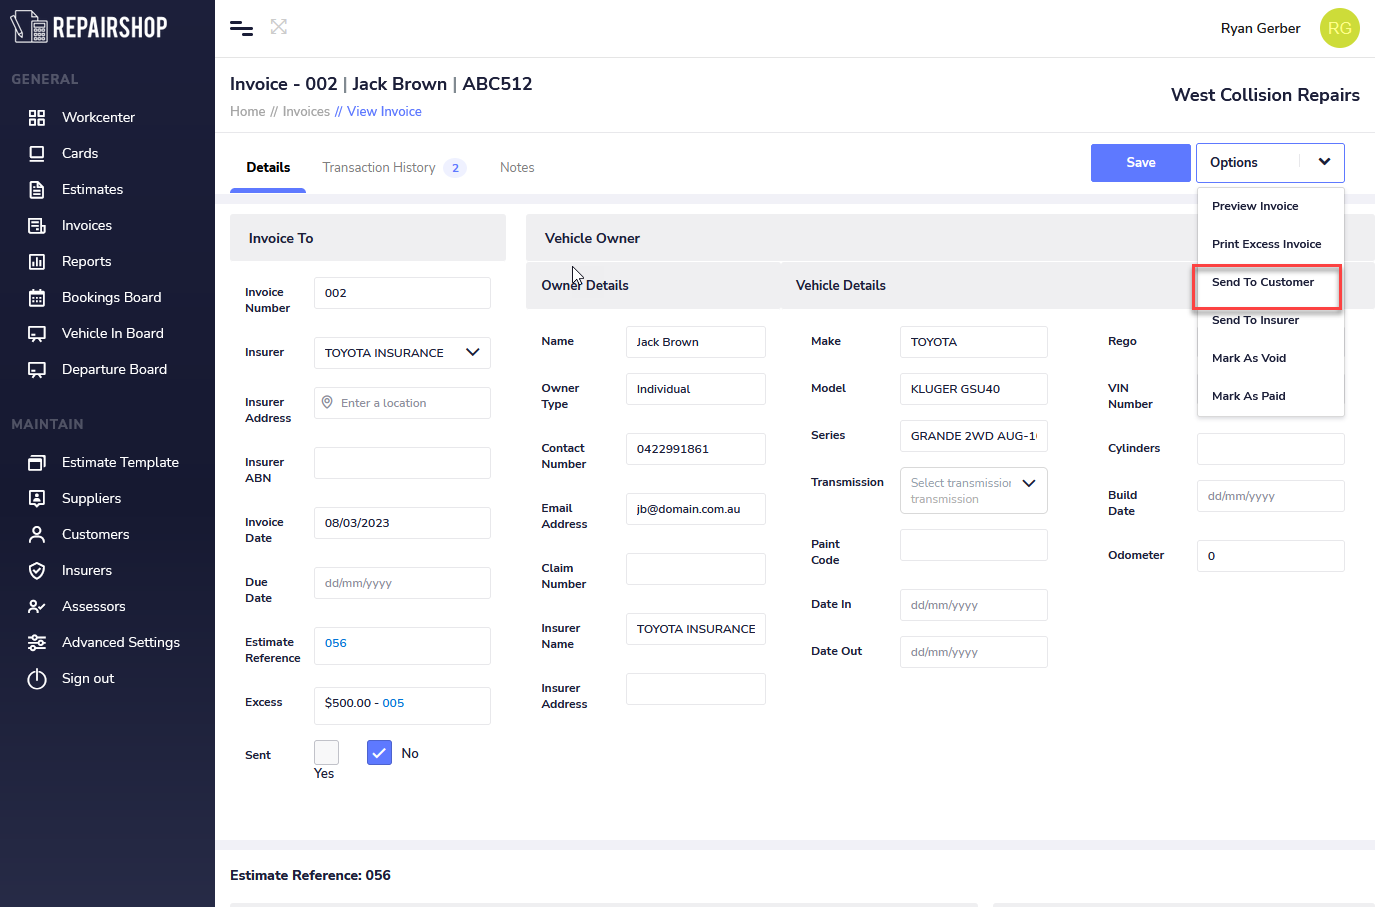
¶ Send To Customer
The send to customer feature allows you to send a copy of the Excess invoice or the Complete invoice via Repair-shop email to the Vehicle owner email inbox.
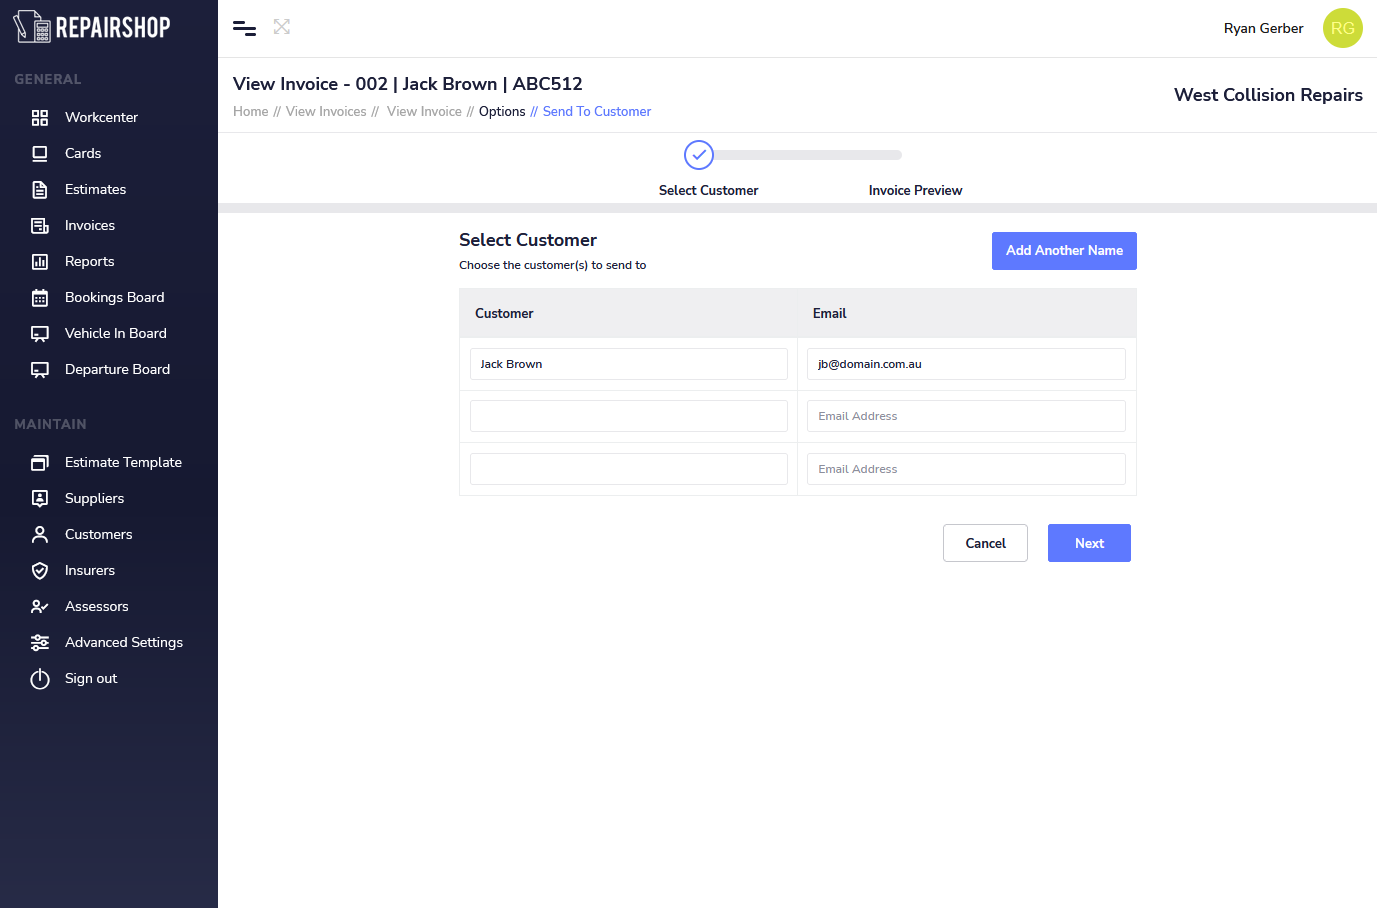
Next review the Customers name and email address to be sent to by clicking on Next. You can at this stage edit the existing email temporairly or add another person to the the recipients of the email by clicking on Add Another Name button.
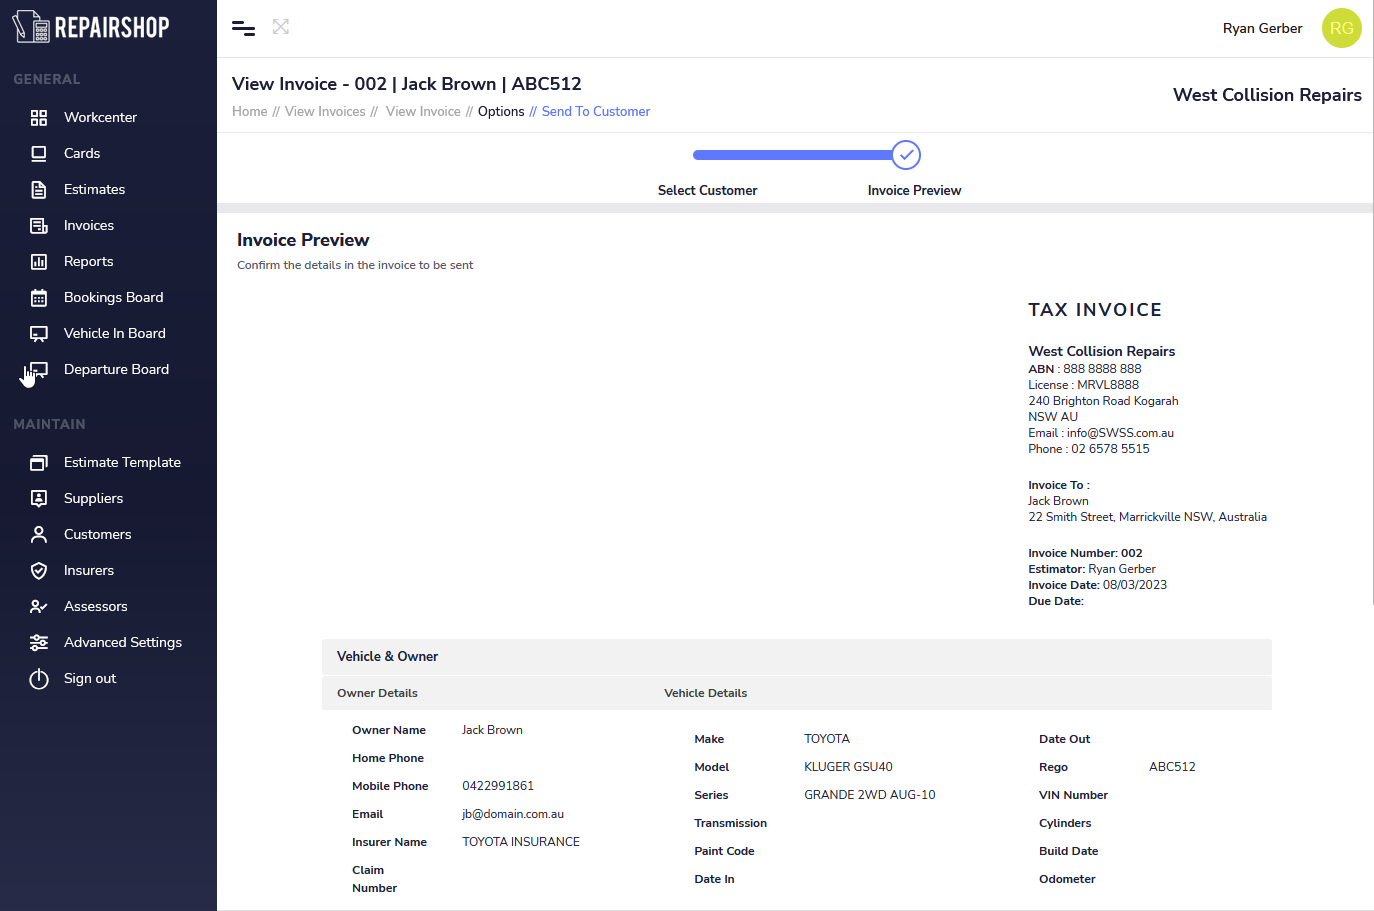
Review the invoice before its sent, then scroll down to the bottom and Click on the Send button.
Note: Invoices sent via Repairshop email are listed in the activity list of the Card the invoice is linked to.
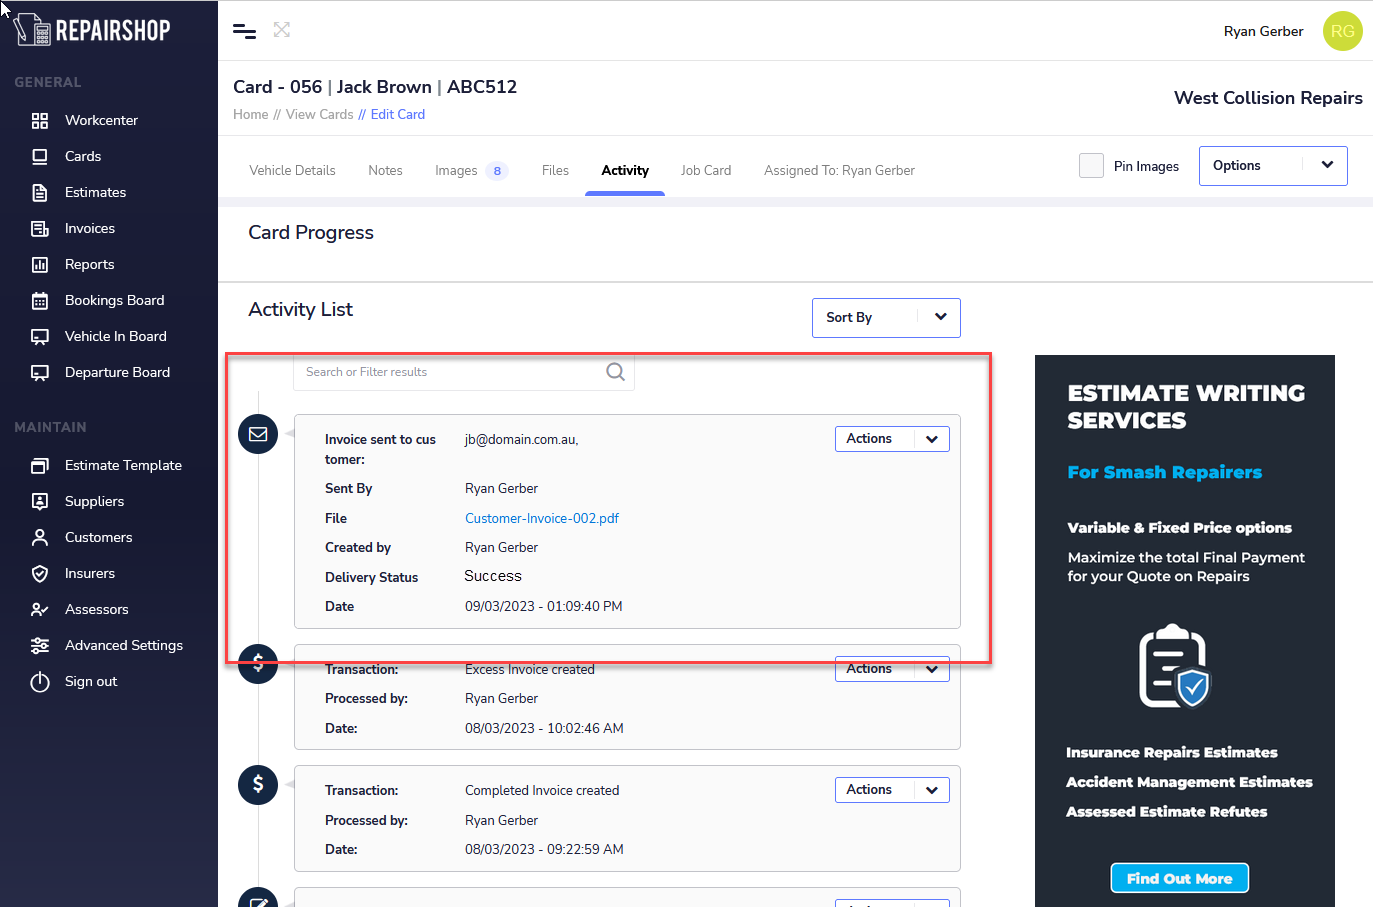
Note: You can also check the status of your email delivery by checking Sent Status in the Awating Payment list.

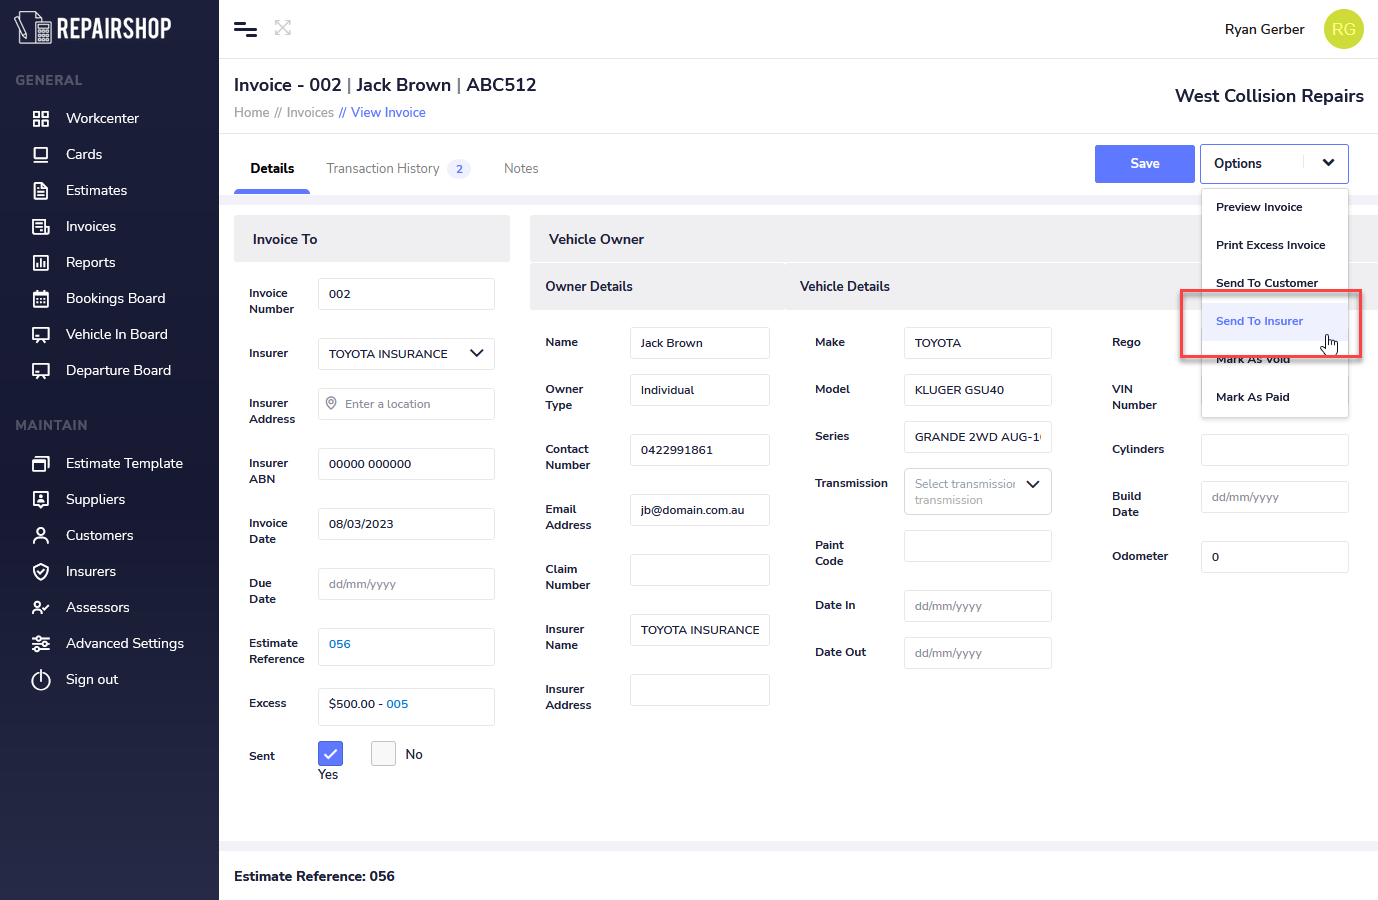
¶ Send To Insurer
The Send to Insurer feature allows you to send a copy of the Excess invoice or the Complete invoice via Repair-shop email to the Insurer claims email inbox. Click on the Options button then Send to Insuer.
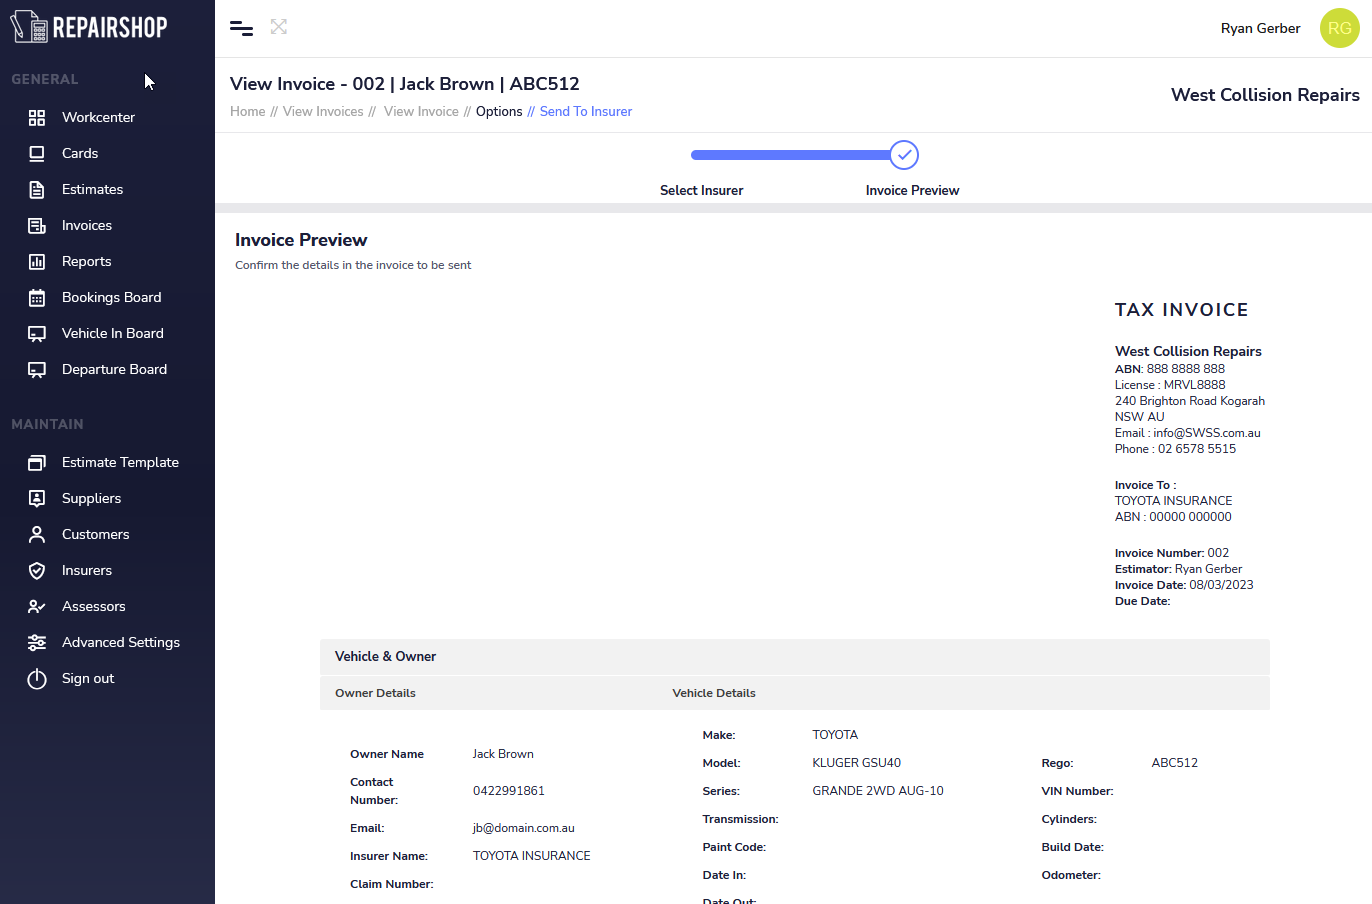
Next review the Insurers name and email address to be sent to by clicking on Next. You can at this stage edit the existing email temporairly or add another person like an Assessor temporairily to the the recipients of the email by clicking on Add Another Name button.

Review the invoice before its sent, then scroll down to the bottom and Click on the Send button.
Note: Invoices sent via Repairshop email are listed in the activity list of the Card the invoice is linked to.

Note: You can also check the status of your email delivery by checking Sent Status in the Awating Payment list.
¶ Mark As Void
When you need to Void / Delete an invoice that will no longer be charged out, first go to the View Invoice page to see the details of the invoice you want to perfrom the Void on. Next click on Options then select Mark As Void.
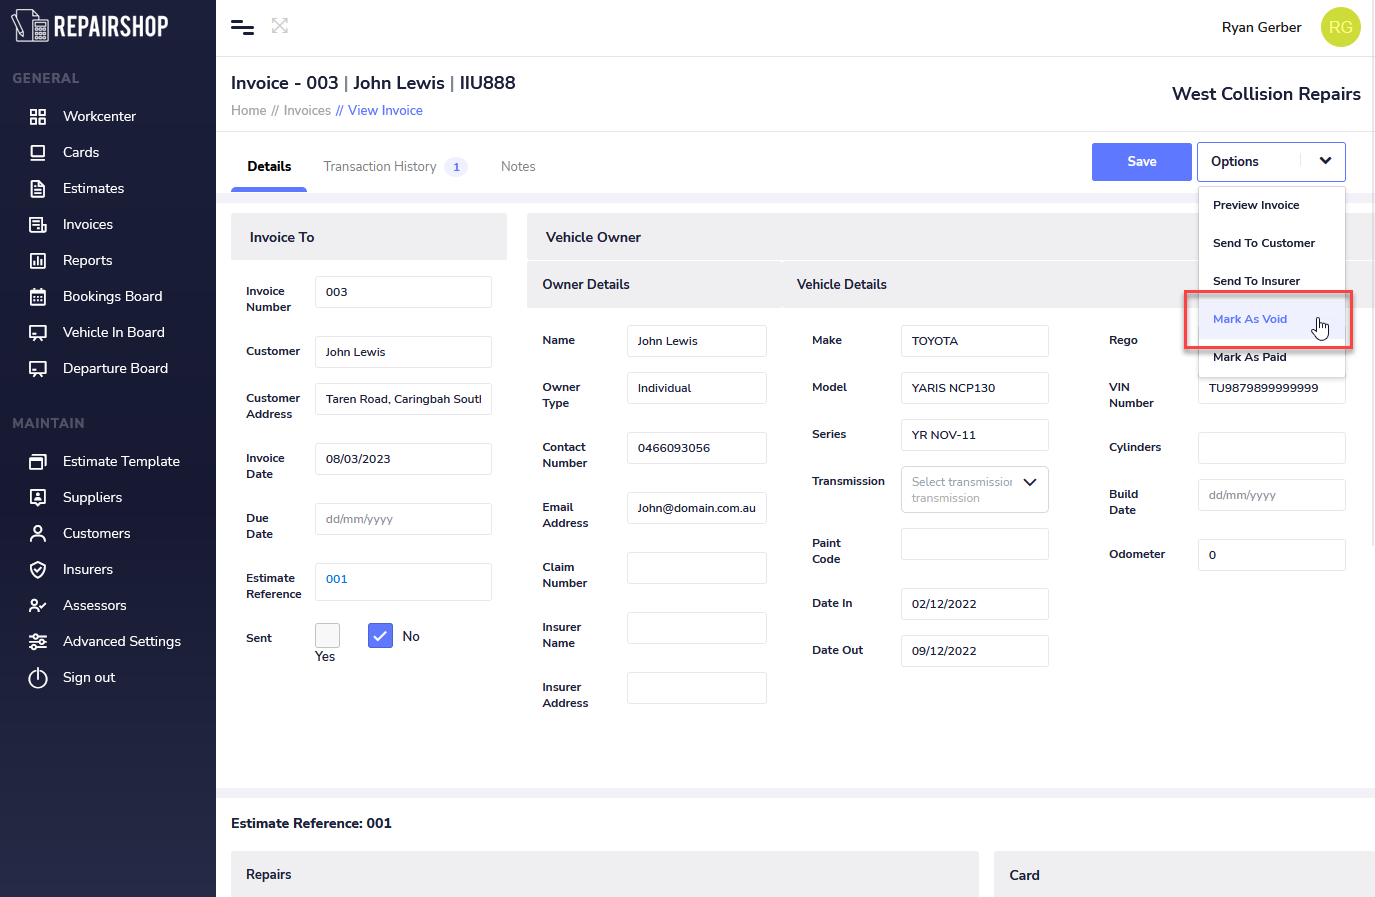
You will be presented with a confirmation to Void the Invoice, click on the Void Invoice button to proceed.
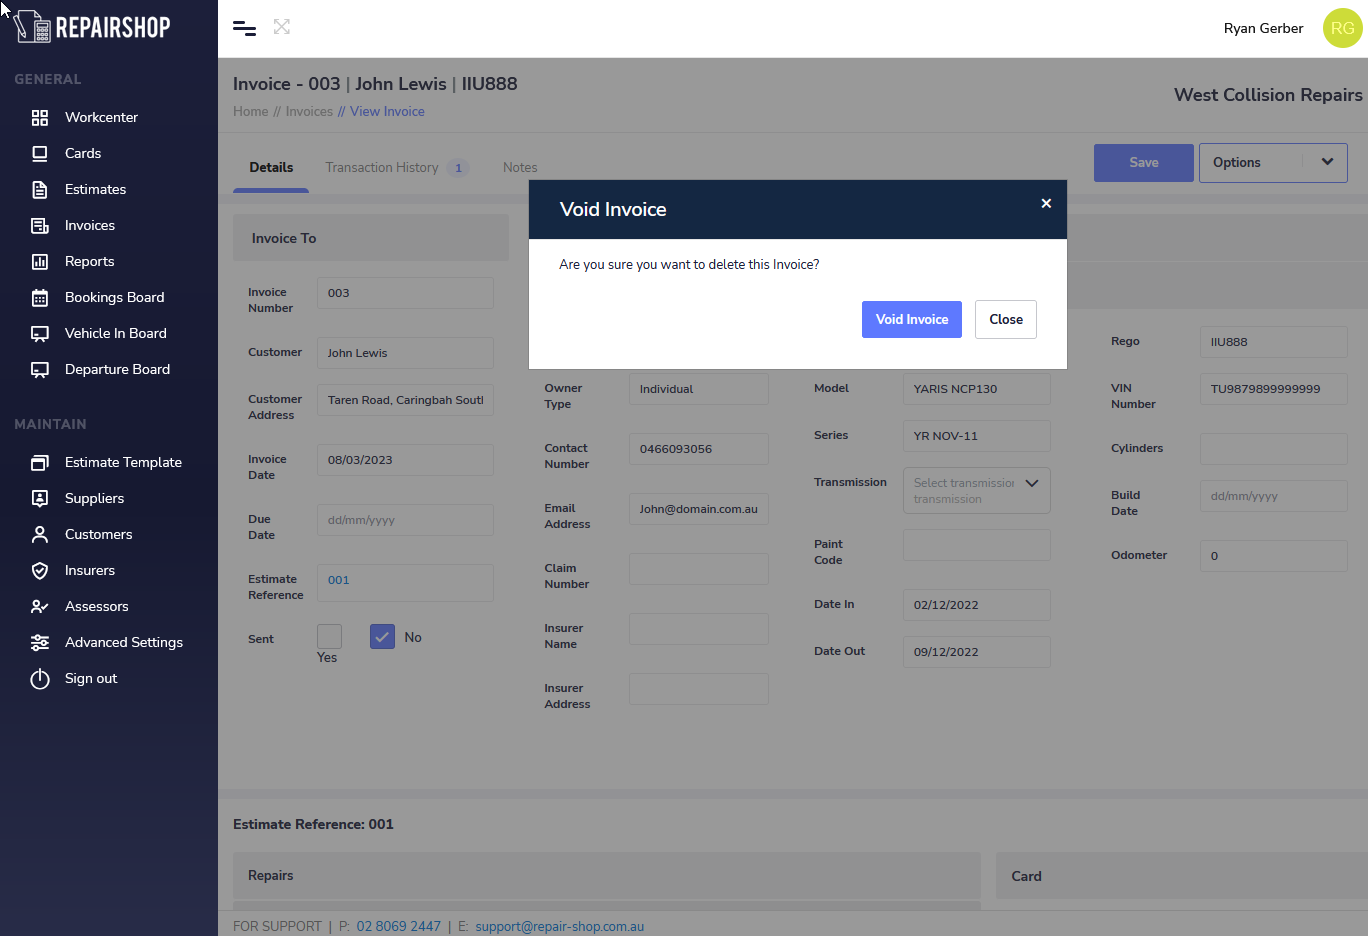
Note: Once your confirm to Void the Invoice this action is irreversible. Futures updates will allow allow you to search voided invoices to look at restoring them. Your Business account will need to have a Data Add-on pack paid bundle to allow this. Free license users will need to upgrade.
¶ Mark As Paid
Setting payment of your Excess and Complete invoices to PAID is easy to do so that you can keep track of credit, EFT, Cash and Cheque Payments.You can record full and part payments and print receipts from Repair-shop for your customer after payment has been processed.
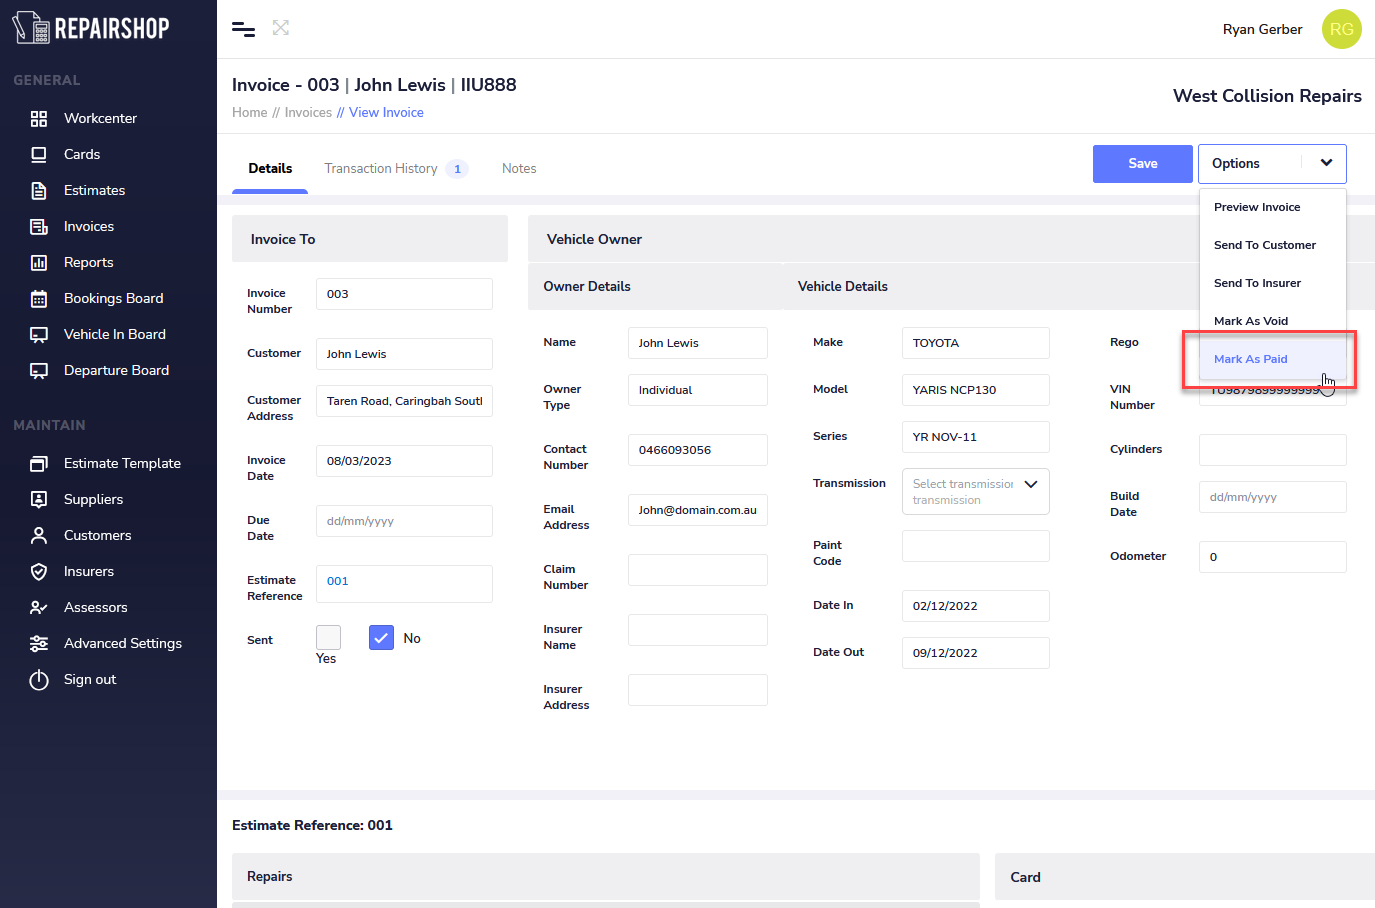
When you need to Mark an Invoice as Paid , first go to the View Invoice page to see the details of the invoice you want to Mark as Paid. Next click on Options then select Mark As Paid
In the Set Payment section click on Payment Type drop down box and select the wether the payment your recording is EFT, Credit Card, Cash or Cheque.

Set the Amount Paid either in Full or Part Payment.
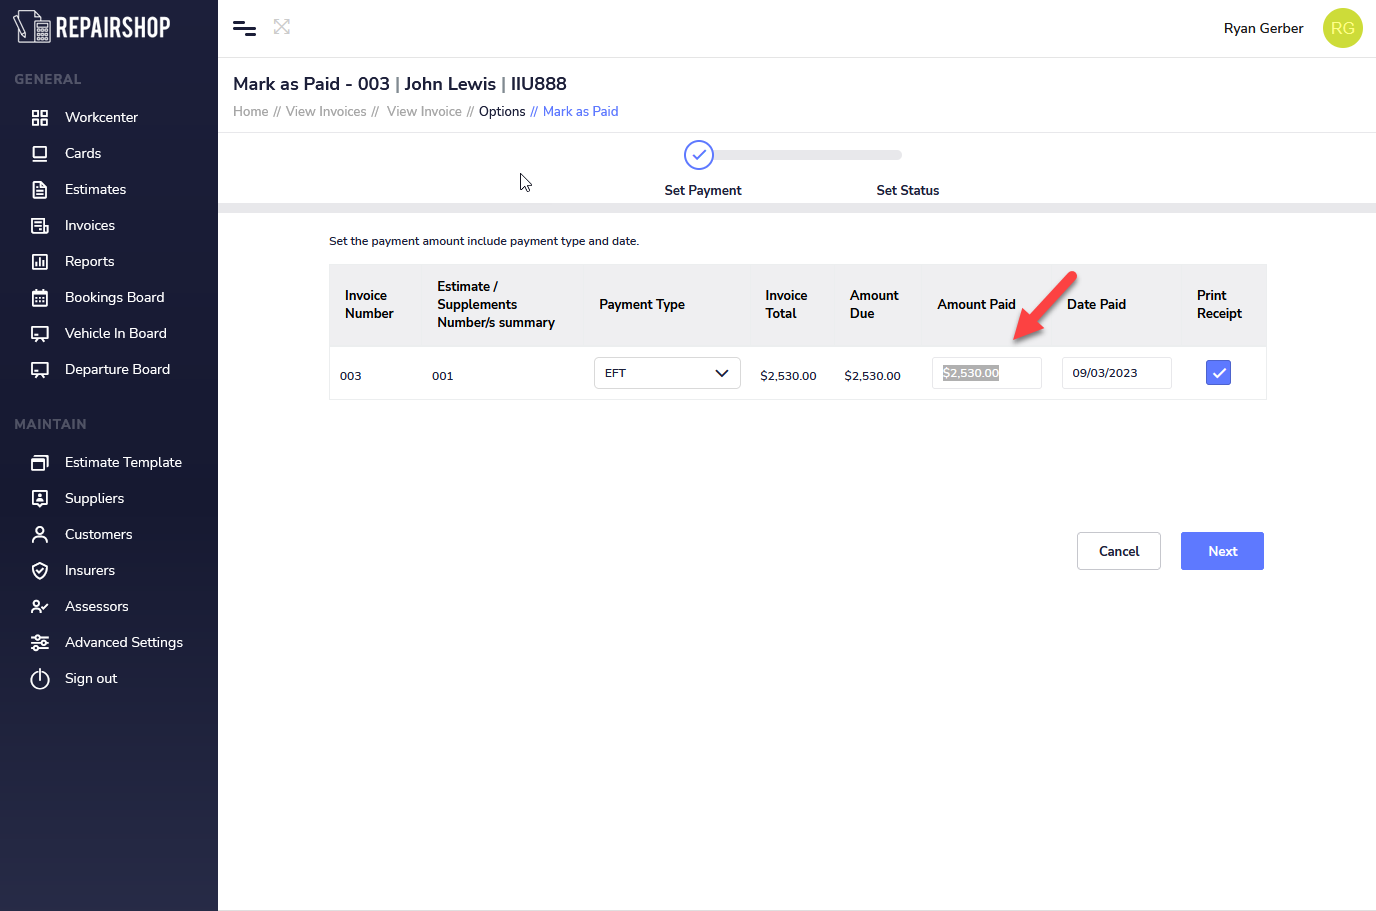
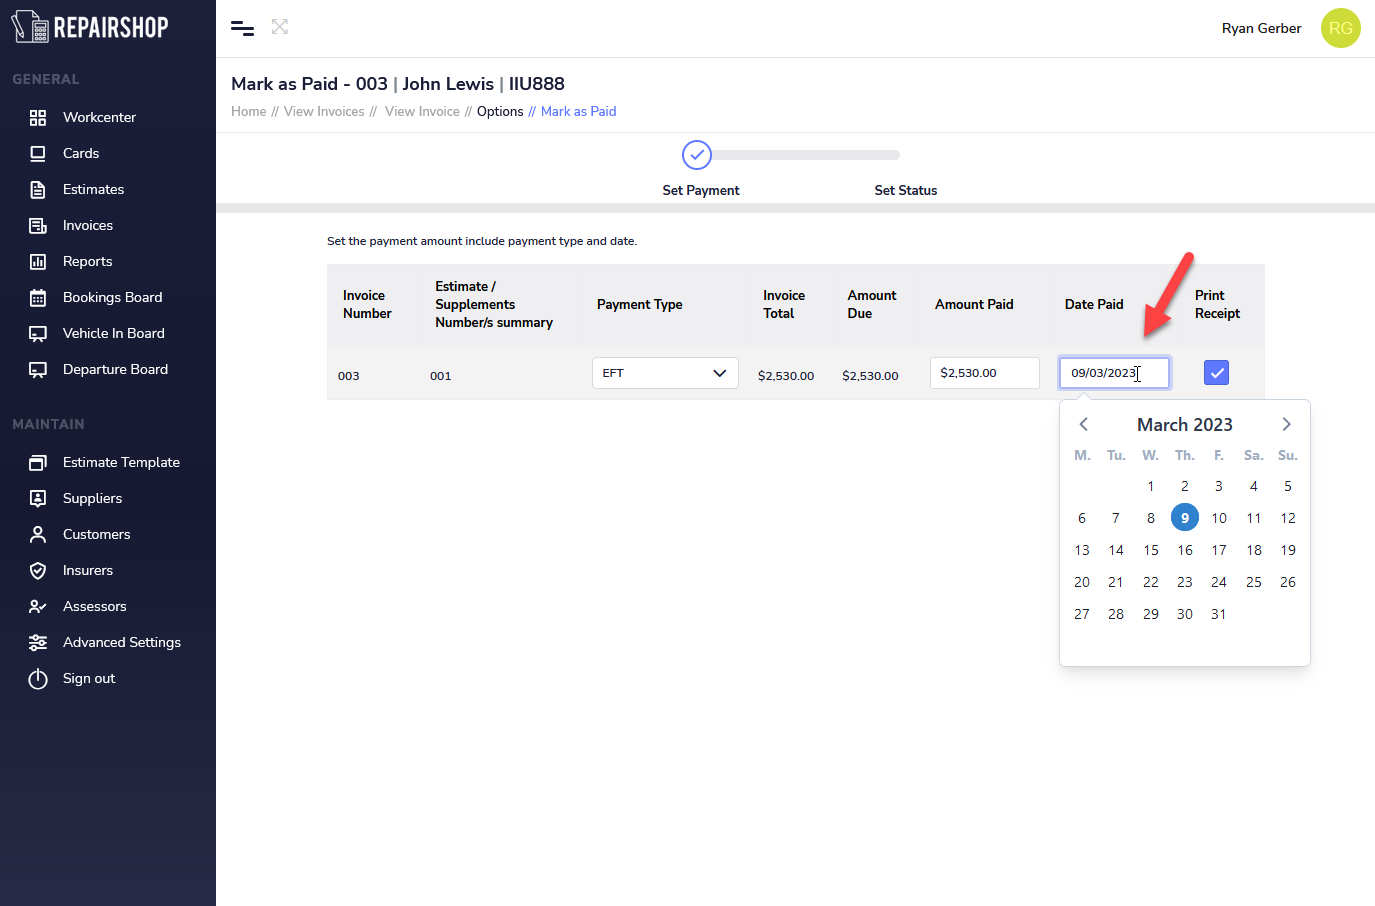
Set the Date Paid and tick the Print Receipt box if you want to print one for your customer.
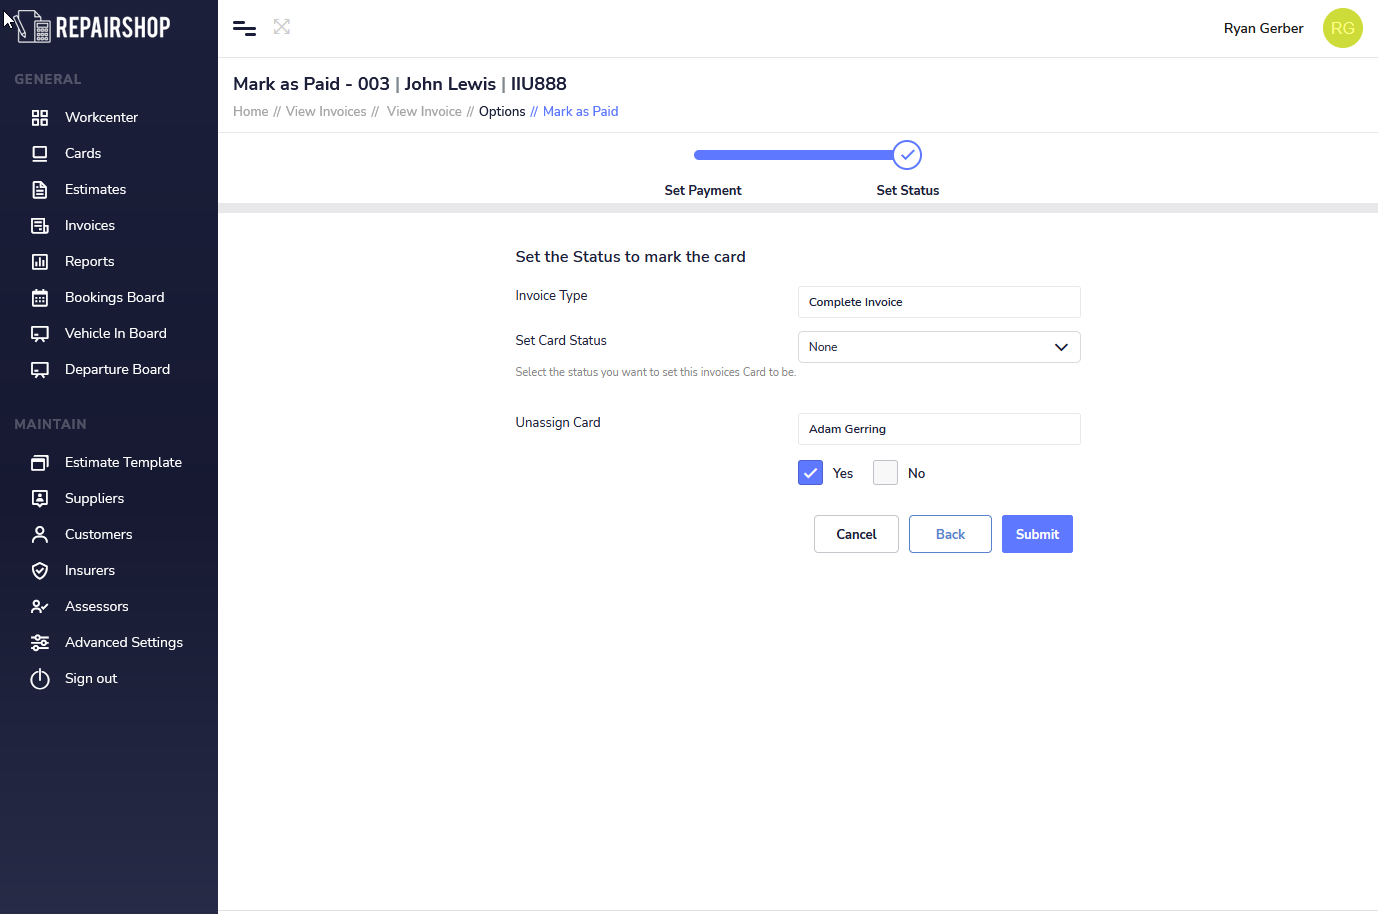
The last step to complete marking the payment is to review and confirm the following to finalise it.
- Invoice Type: Displays wether the payment you processing is for a Excess or a Complete Invoice
- Set Card Status: Allows you to set this to a workflow status of yoru choice along with others to hep you organise the Card and its linked work with it.
- Unassign Card: Picks up if a person is still assgined the Job and proceeds to Unassign them (By Default YES) so that it does not appear in your workcenter or as an actionable item. Selecting NO leaves it assigned should there be another step after payment involved.