¶ Vehicle Details
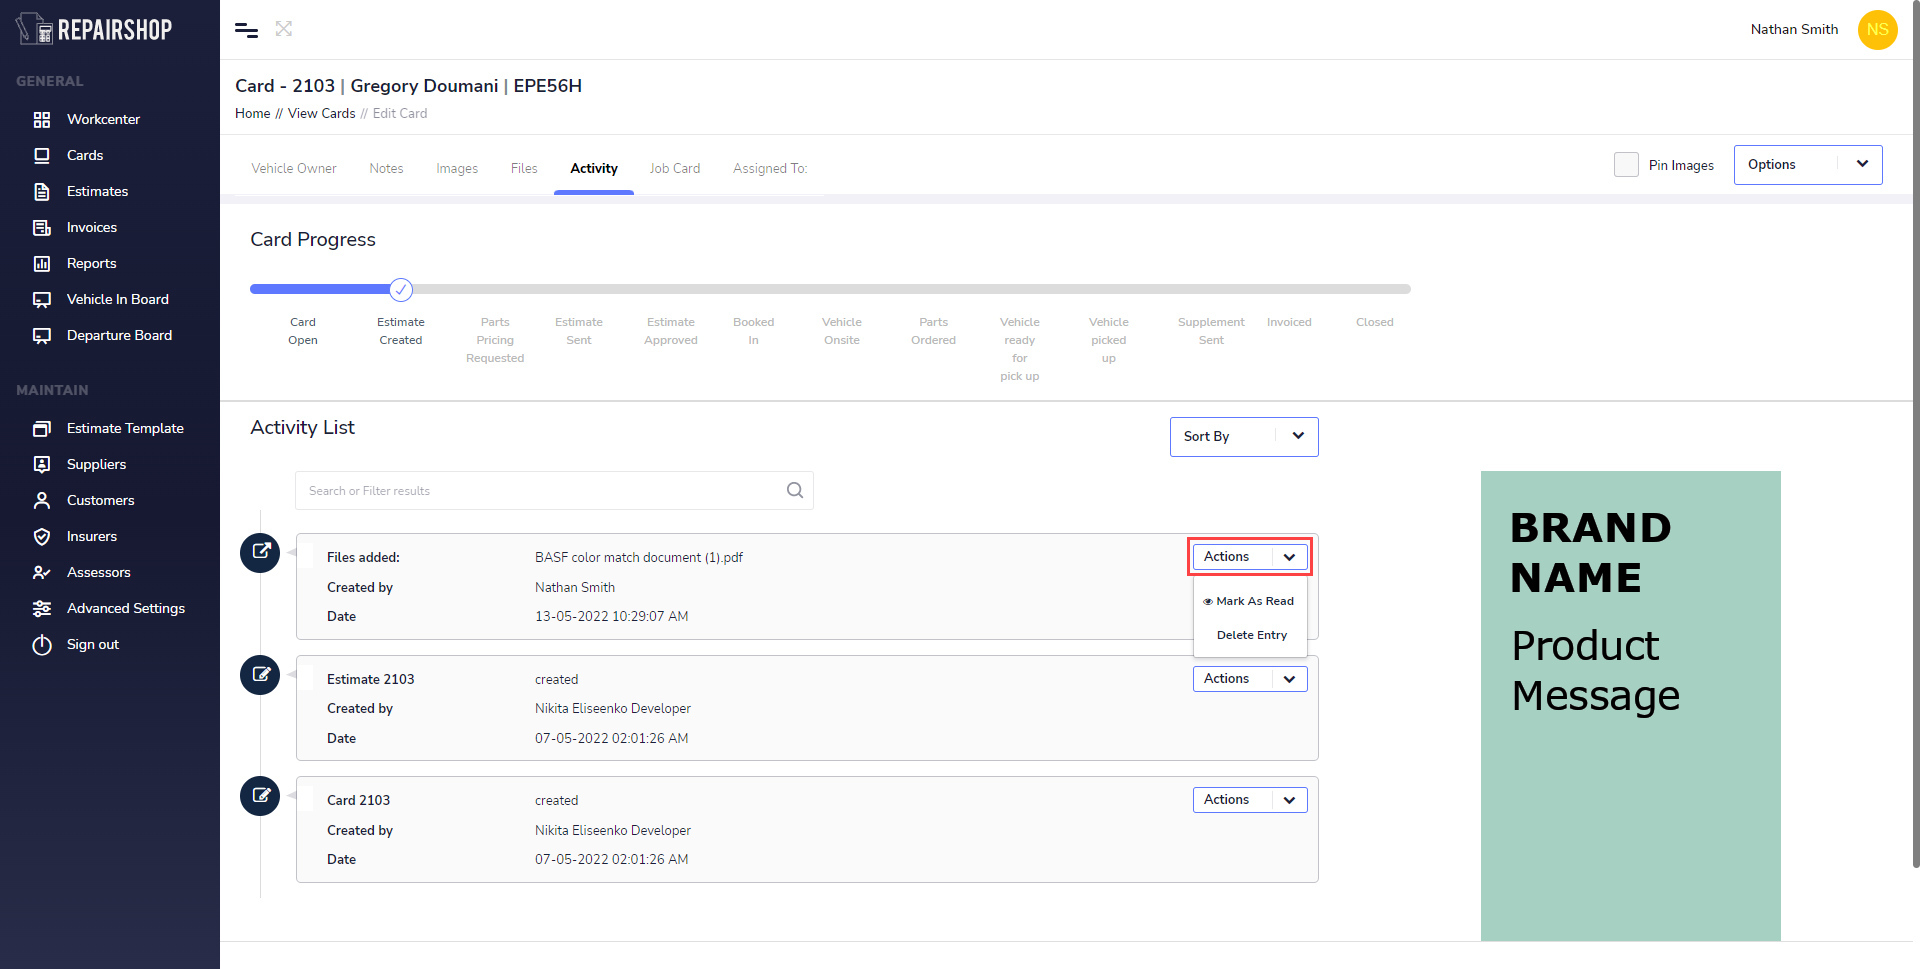
When you click on the card from the table of board views you will be shown information about:
- Vehicle Owner - Their name , Owner Type and Contact information.
- Vehicle - The vehicles Rego, make, model, series etc.
- Estimate Information - The Estimate number and Estimator.
- Invoice Information - Invoice number and Payment status.
- Insurance - Shows whether its an Insurance repair job , insurance claim type , name of the insurer.
- Scheduling - Date in , Date out and pick up time
- Progress - This is an interactive indicator that allows you to view and set the status of the card.
¶ Notes
Notes lets you add information, these can be just general notes to detailed information about the card you want others in the office to know about with the Job. The number of notes written will appear next to ‘’Notes’’.
NOTE: To make sure your new note or edited note appears, press the ‘’Save Note’’.
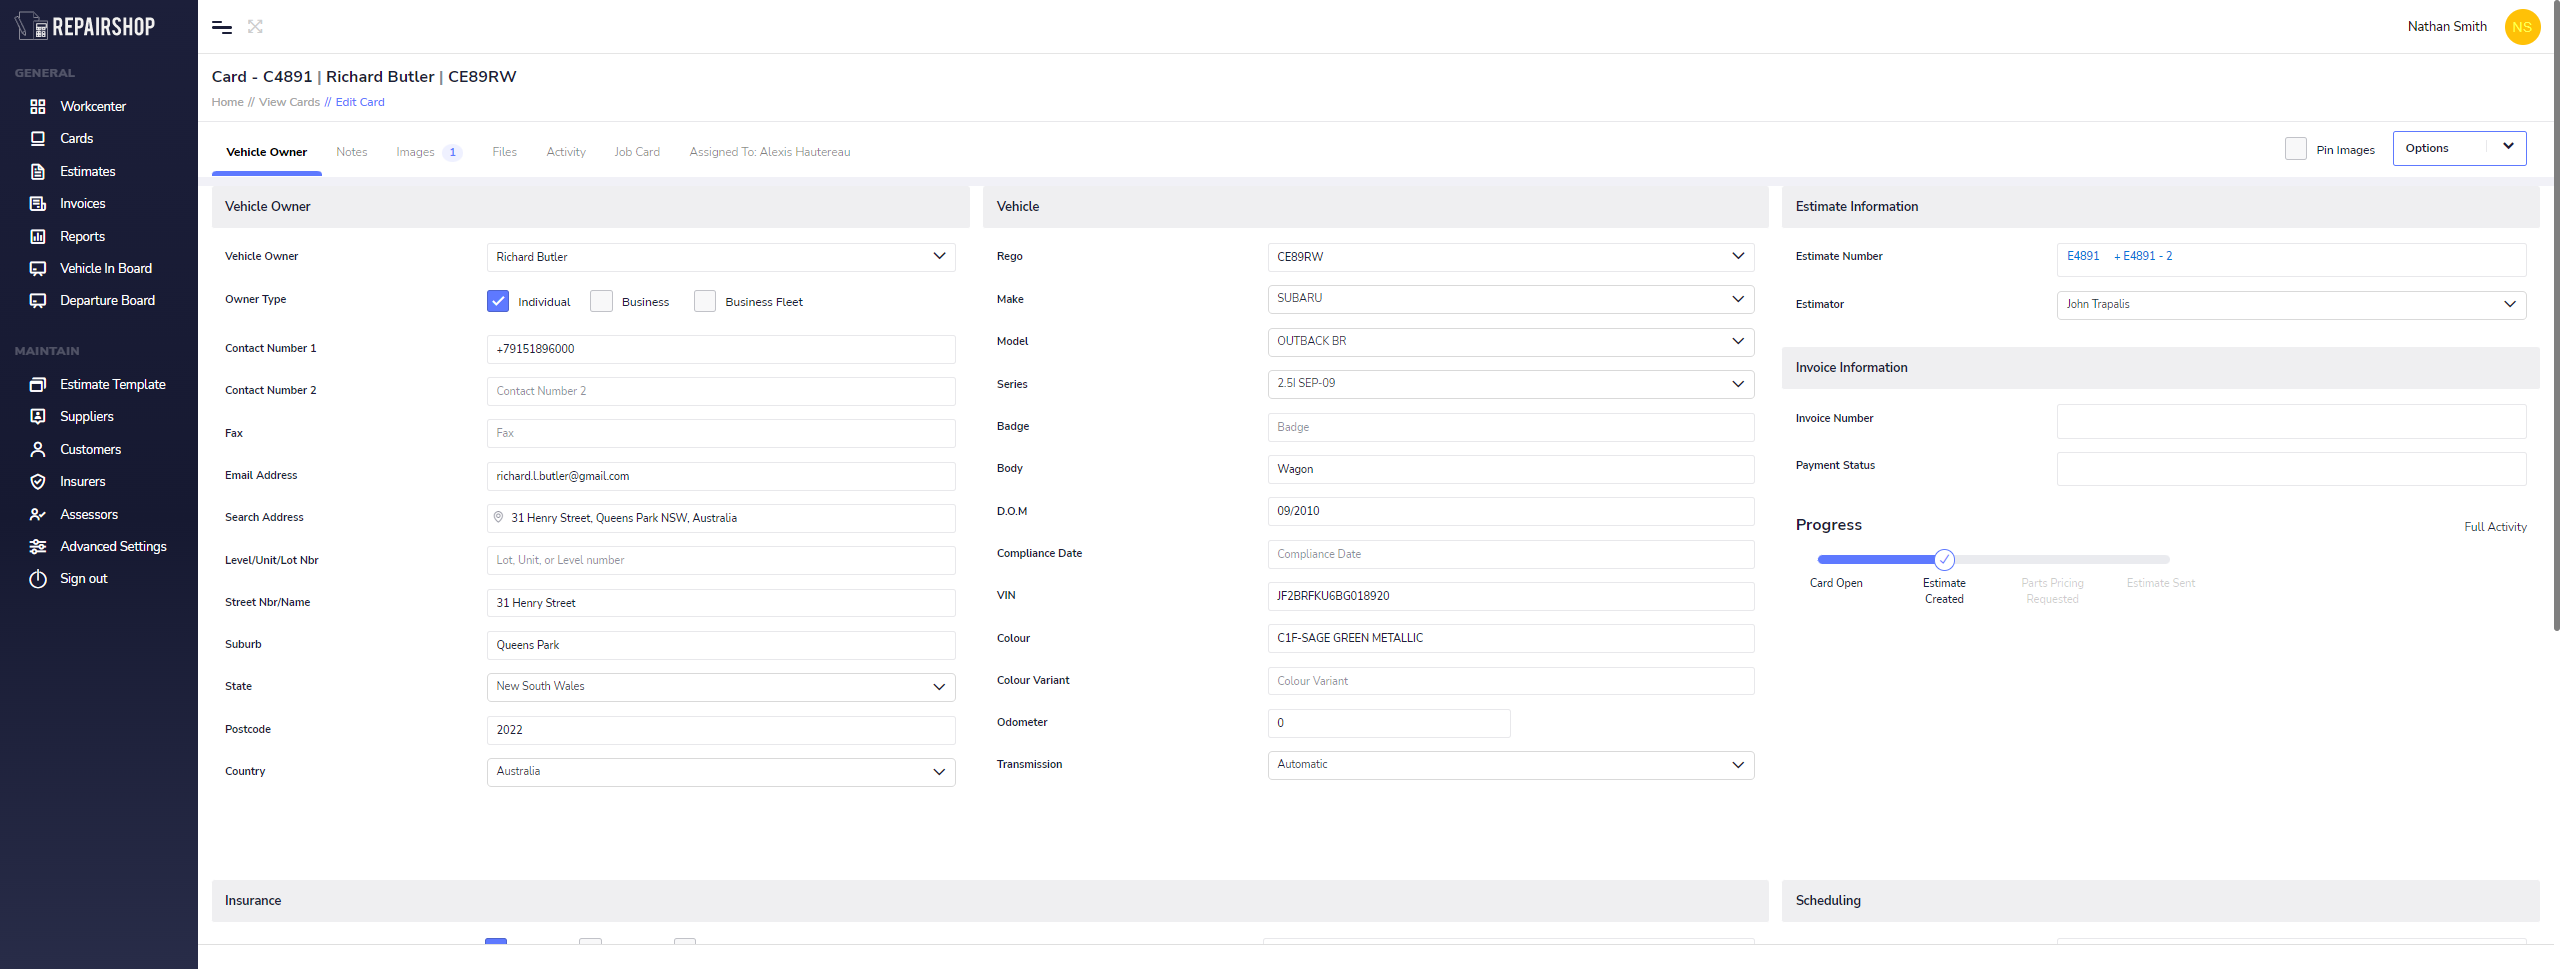
¶ The image below shows how notes can be accessed, edited and deleted.

¶ The image below shows how to “Add Note” from the Options button on a mobile device.
¶ Images / Pin Images
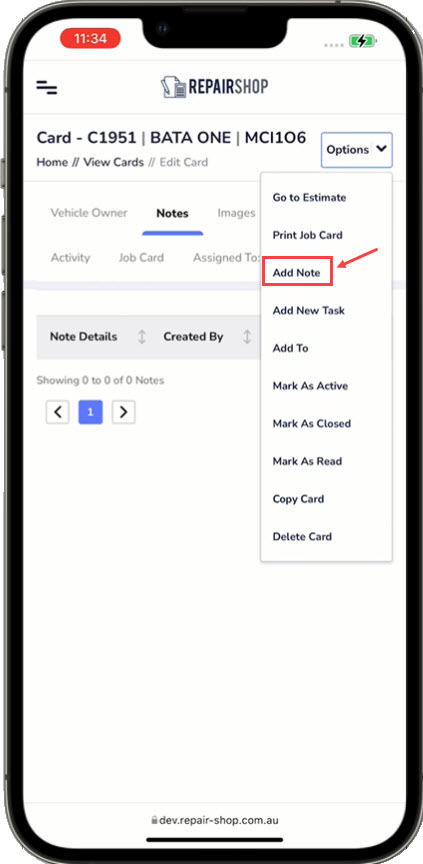
With images you’re able to add on or many images of the vehicle to the card at the same time. This feature allows you to easily bring up images with the card whilst still being able to see details about the card.
¶ Drag and Drop
By dragging and dropping these images from your PC they can then be sorted into the categories; “Existing Damage”, “Accident Damage” and “Supplementary Damage”.
Below is a video showing how to manage images in the Card.”.
NOTE: To add and organize images use drag and drop features to move the images from one section to another.
¶ Browse Images
To upload images by browsing to a folder on your PC, click on the “Browse Images” button which then opens file explorer on your PC and navigate to the folder where the images are kept.
¶ Images from a Mobile Device
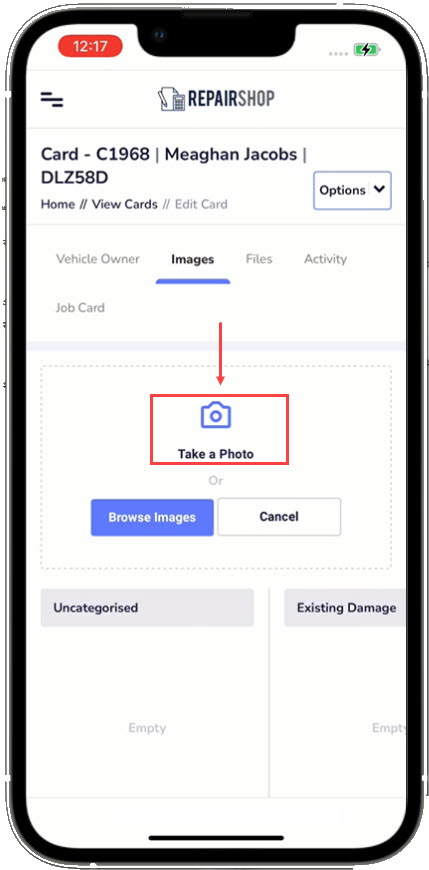
You’re able to take a photo from your phone by pressing the “Take a Photo” icon. This will load your phones camera mode so you can take a picture of the vehicle, damaged areas or Parts for supplements. Photos are uploaded straight away and NOT ON YOUR PHONE.
This feature saves on storage space in your phone.
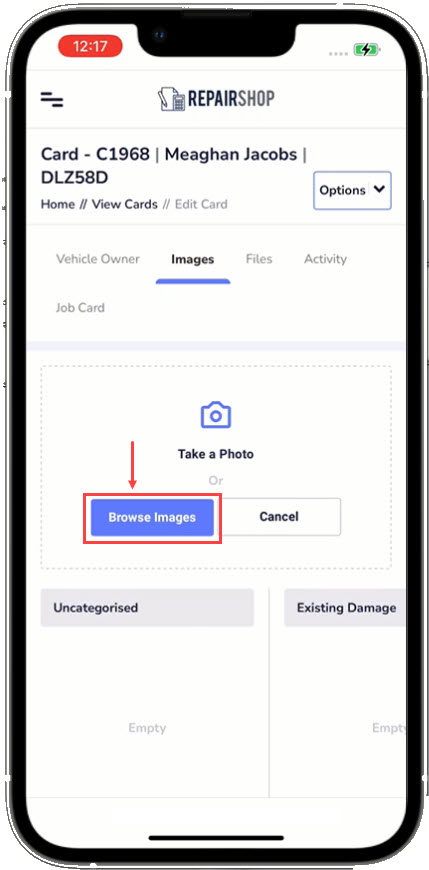
If you want to upload photos already on your phone, you can also click “Browse Images”, this will go into your camera roll and you’re able to select photos that have already been taken from there.
¶ Pin Images
This feature allows you to easily bring up images with the card whilst still being able to see details about the card.
To action Pin Images, look at the Options button, next to that you will see the Pin Images checkbox. Pinned Images allow you to see the images uploaded from the file on the left side of the screen. To remove it just click Pin Images again and the menu will return.
¶ Files
In files you're able to drag and drop or browse files that you want to upload. Here you can add PDF files to share with your Technicians such as Repair procedures. Files stored in the cards section are visible to all users. If you have PDF that are specifically for the Estimate, then store these in Estimates files section only and not in Cards.
The Files section shows you the:
- File Name
- Who it was uploaded by
- The date it was uploaded
- File size
- Action
You can delete a file by clicking on the red bin icon.
¶ Below is a video on how to drag and drop files in cards and the tupes of files you can store here.
¶ Activity
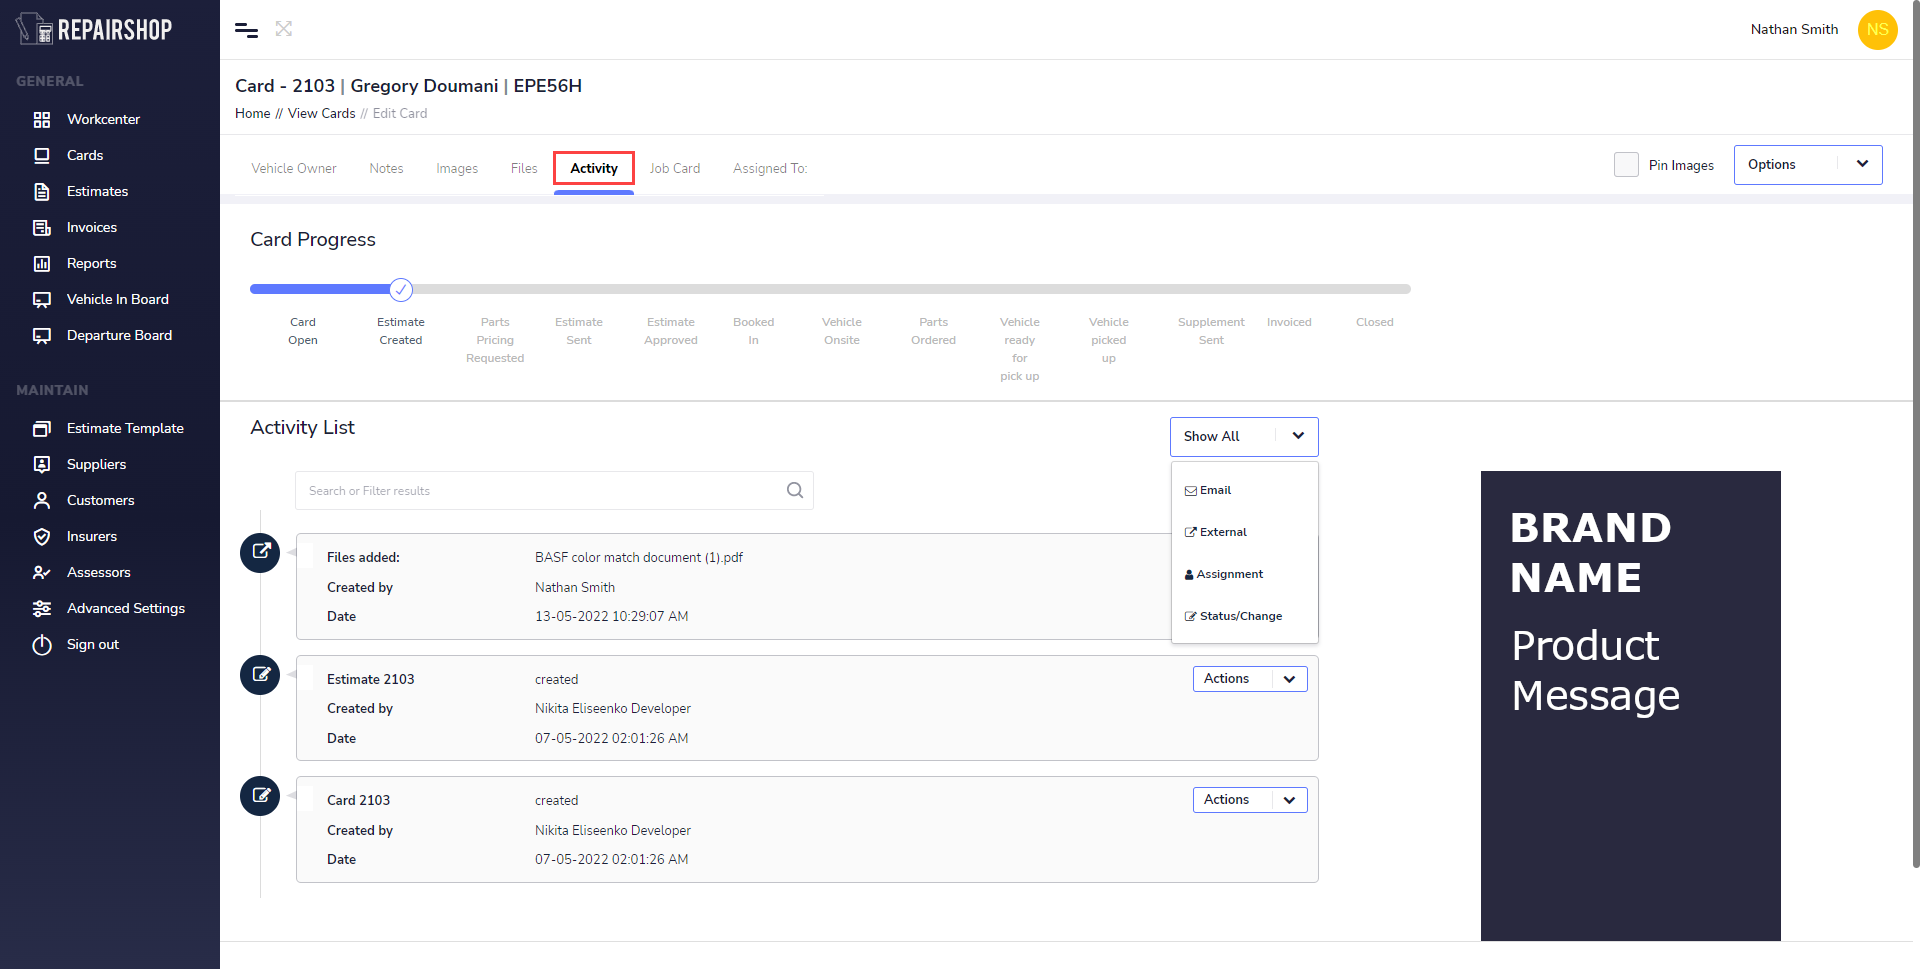
The activity list section is like a running log of all the changes that are being made to the Card during its progression. You will find a log on emails being sent out, confirmation of changes coming in from External systems like ORM, Estimage and more, changes in the assignment of the card from one user to another and status changes that occur as the Card progress through the repair management workflow.
The activity log takes the Date and Time of each action taken in Real time automatically so that when you or another person comes back to it, there is an history of the steps taken with the Card
¶ Card Progress
The Card Progress slider allows you to see which status the Card is at in repair management workflow and also let you slide the indicator to the next process at any time after you have completed a step.
The changes are automatically saved to make it quicker for you to move on to the next thing. Changes in the section also update the Board View and other areas in realtime so that all users see the latest change made by any one person.
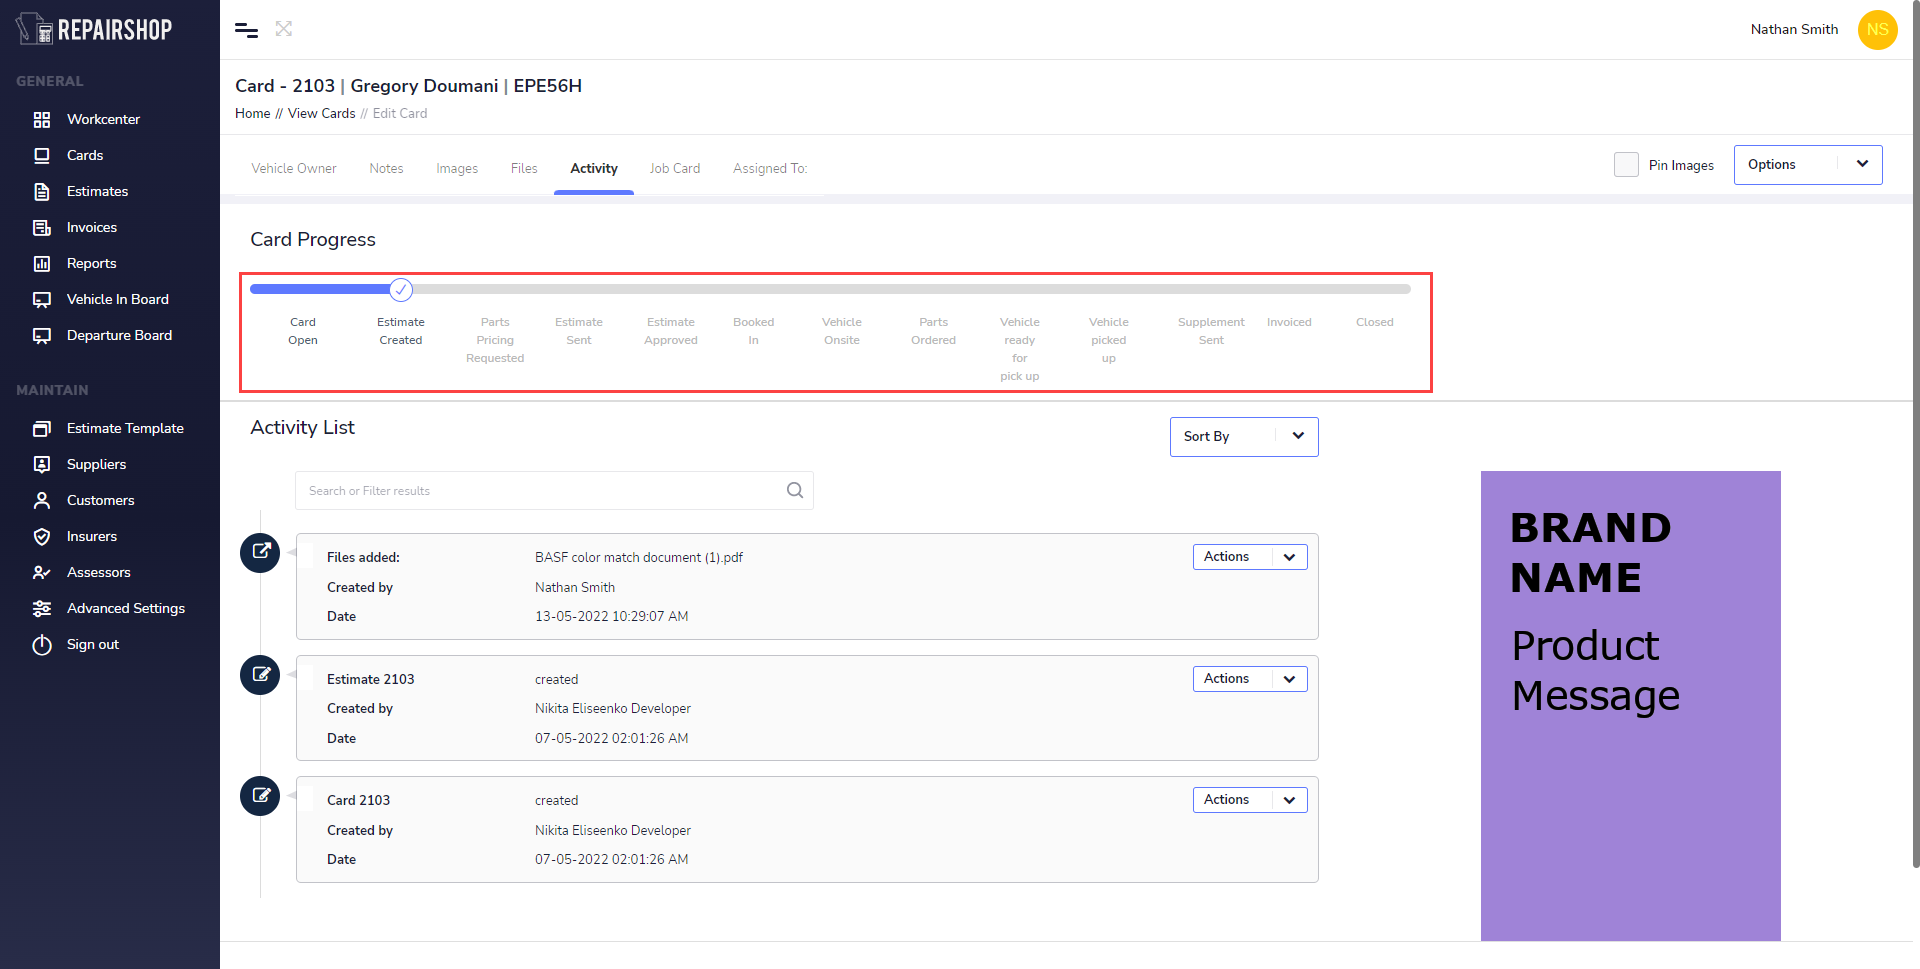
With card progress you can change the stage of where the card is.
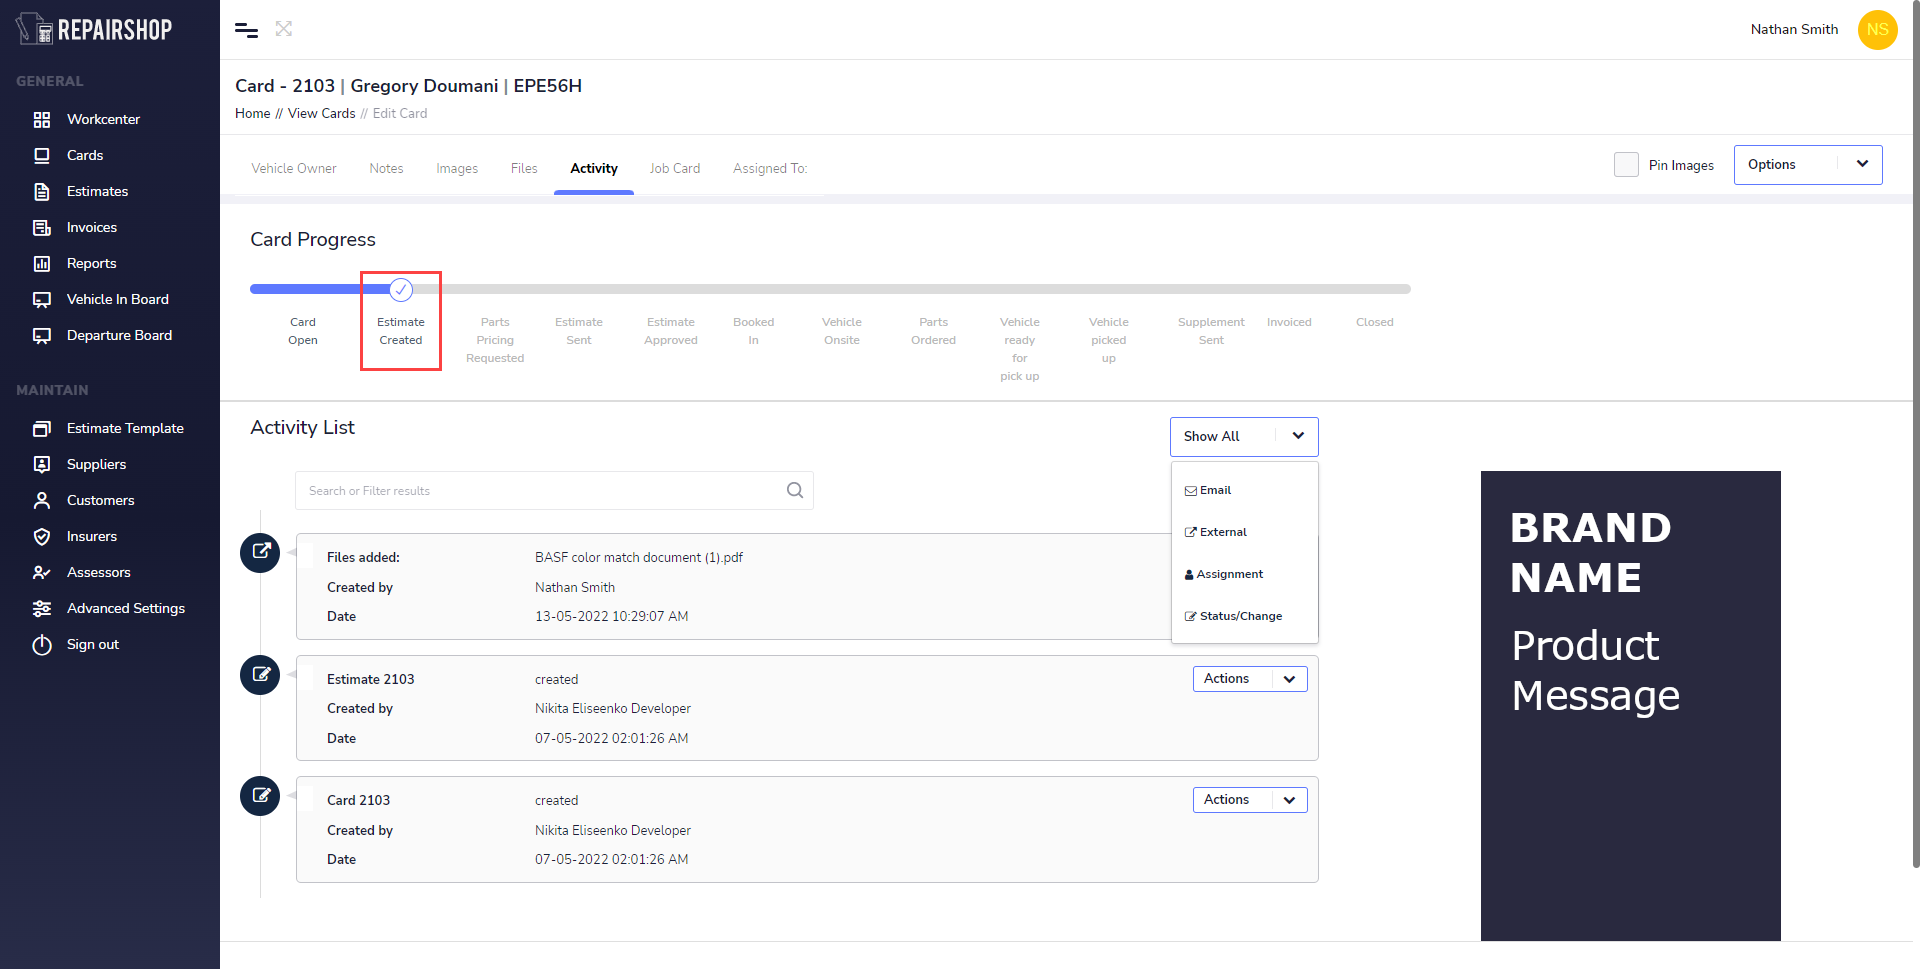
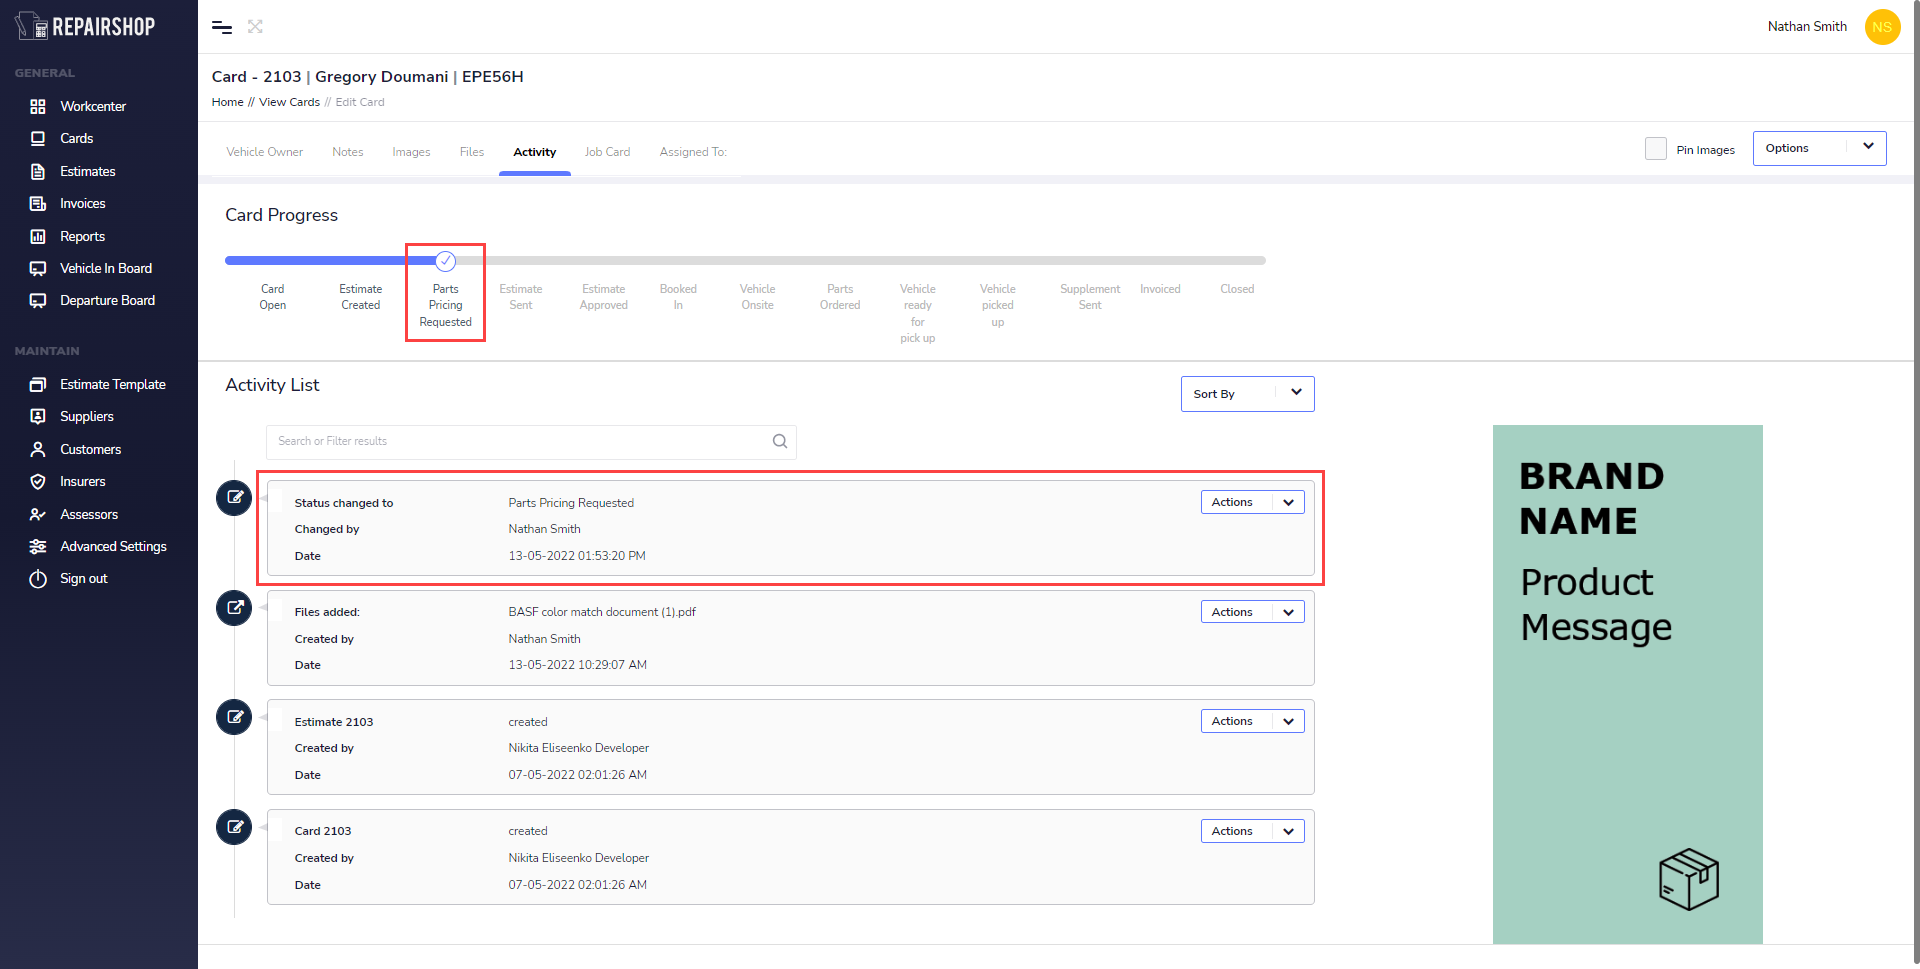
This will then appear in the Activity List.
¶ Activity List
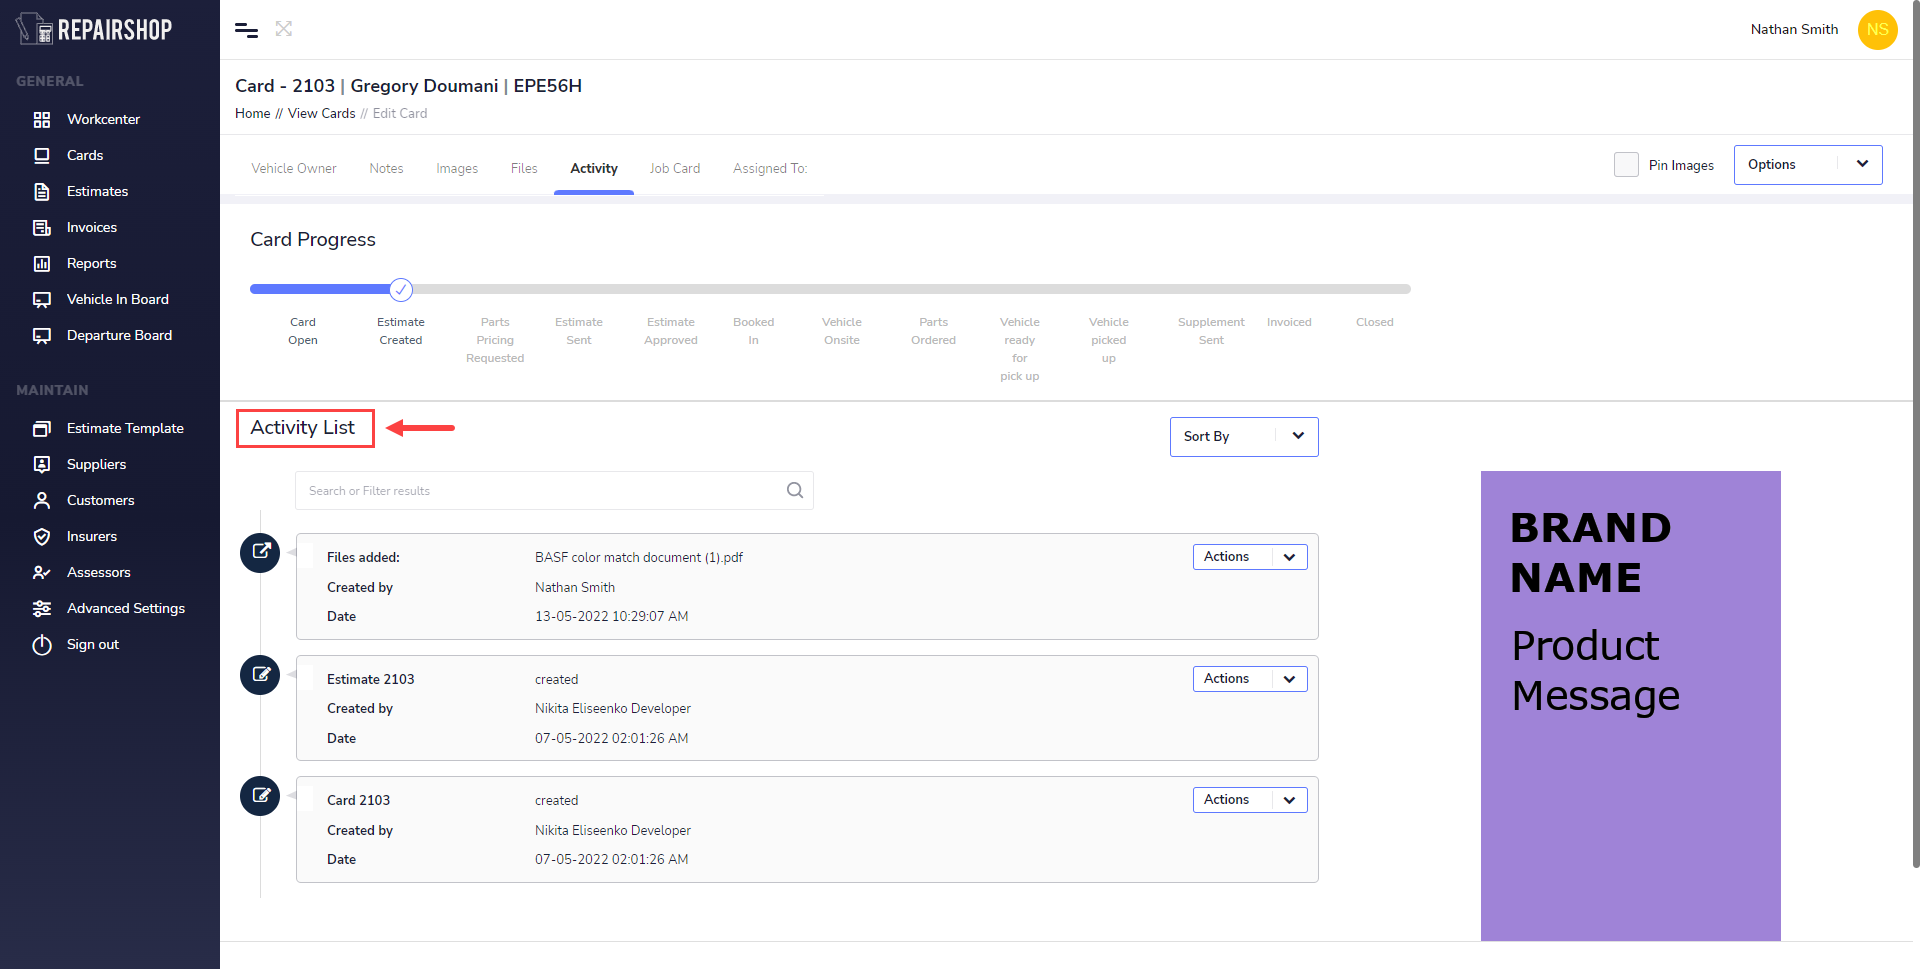
Activity List allows you to see the cards changes and progress from start to finish. its works great to show you who created a new card, changed a status or users assigning the card to other users. For example when a Panel Tech assigns a Card to Paint Tech.
The activity list contains information related to the Card as its assigned to user within the business. Its does not have activity information related to Estimates. That is viewable in Estimates in order to separate the commcercial infomation relating to Estimates from general information all users can seee.
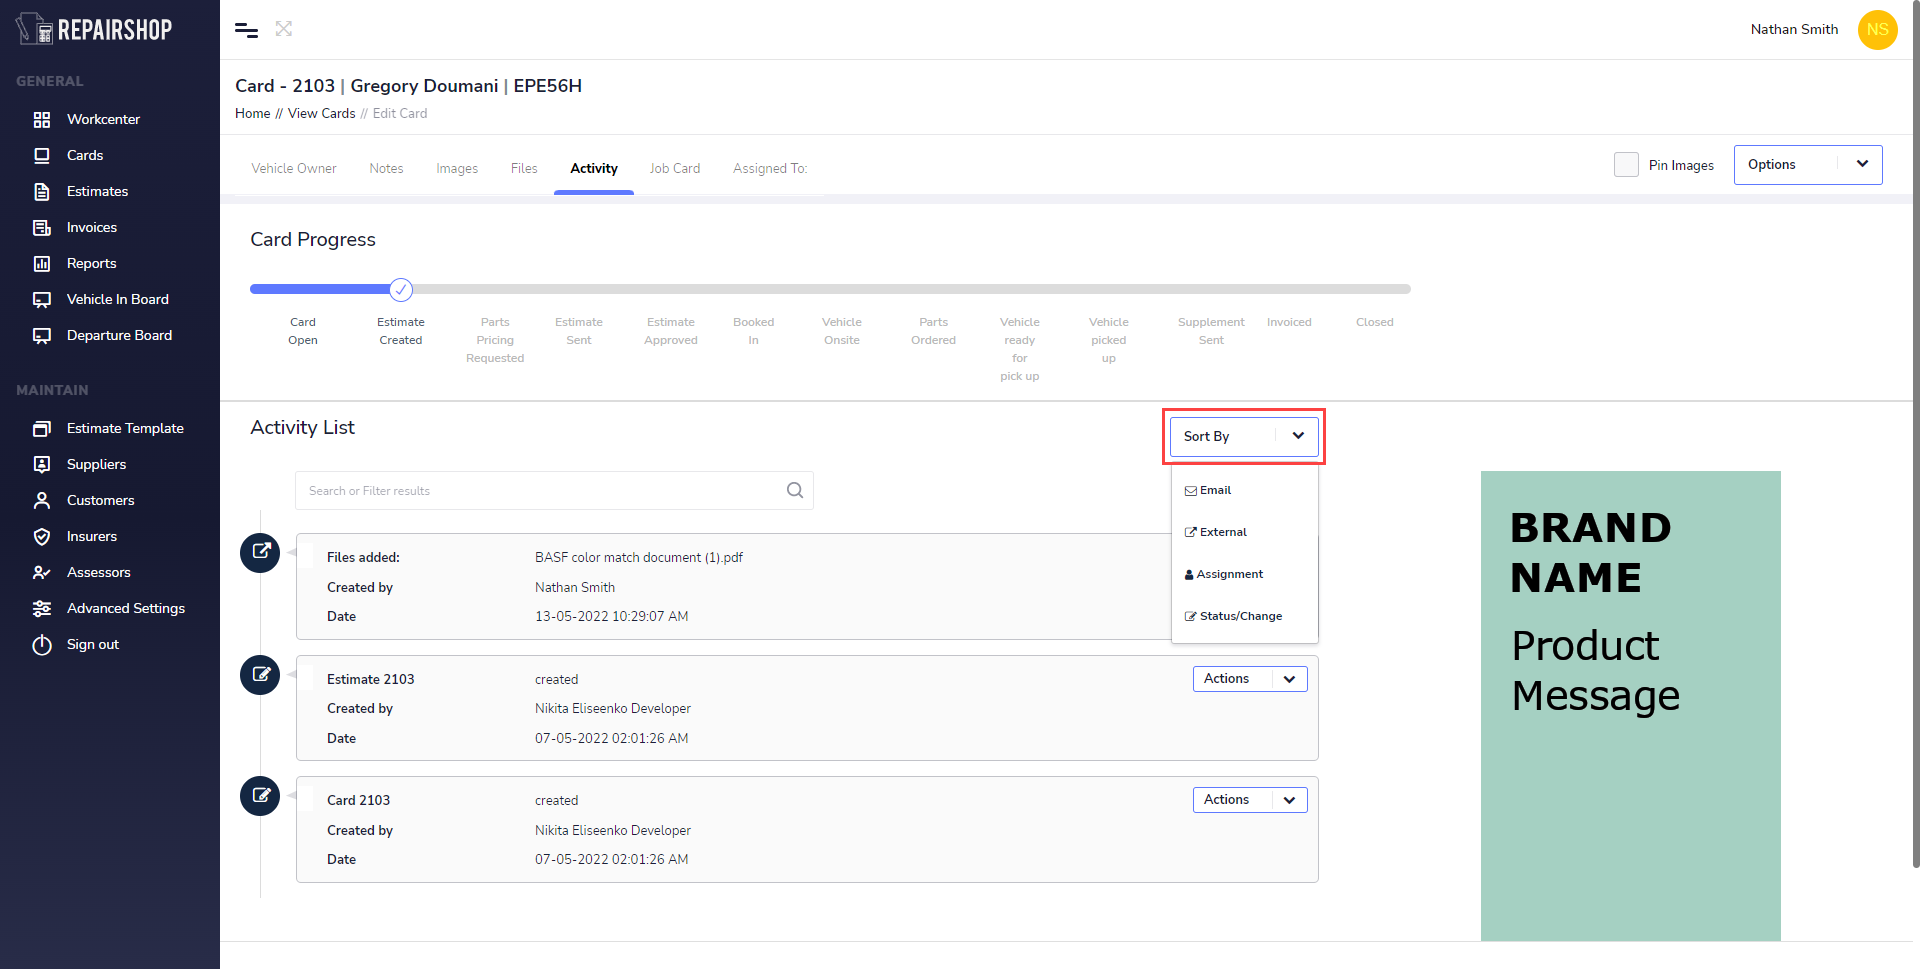
You can sort by which activities you'd like to see under the sort by tab. This allows you to quickly view just what you are after if the list has a lot of entries. Sort by EMAIL, EXTERNAL, ASSIGNMENT or STATUS change entries in the list.
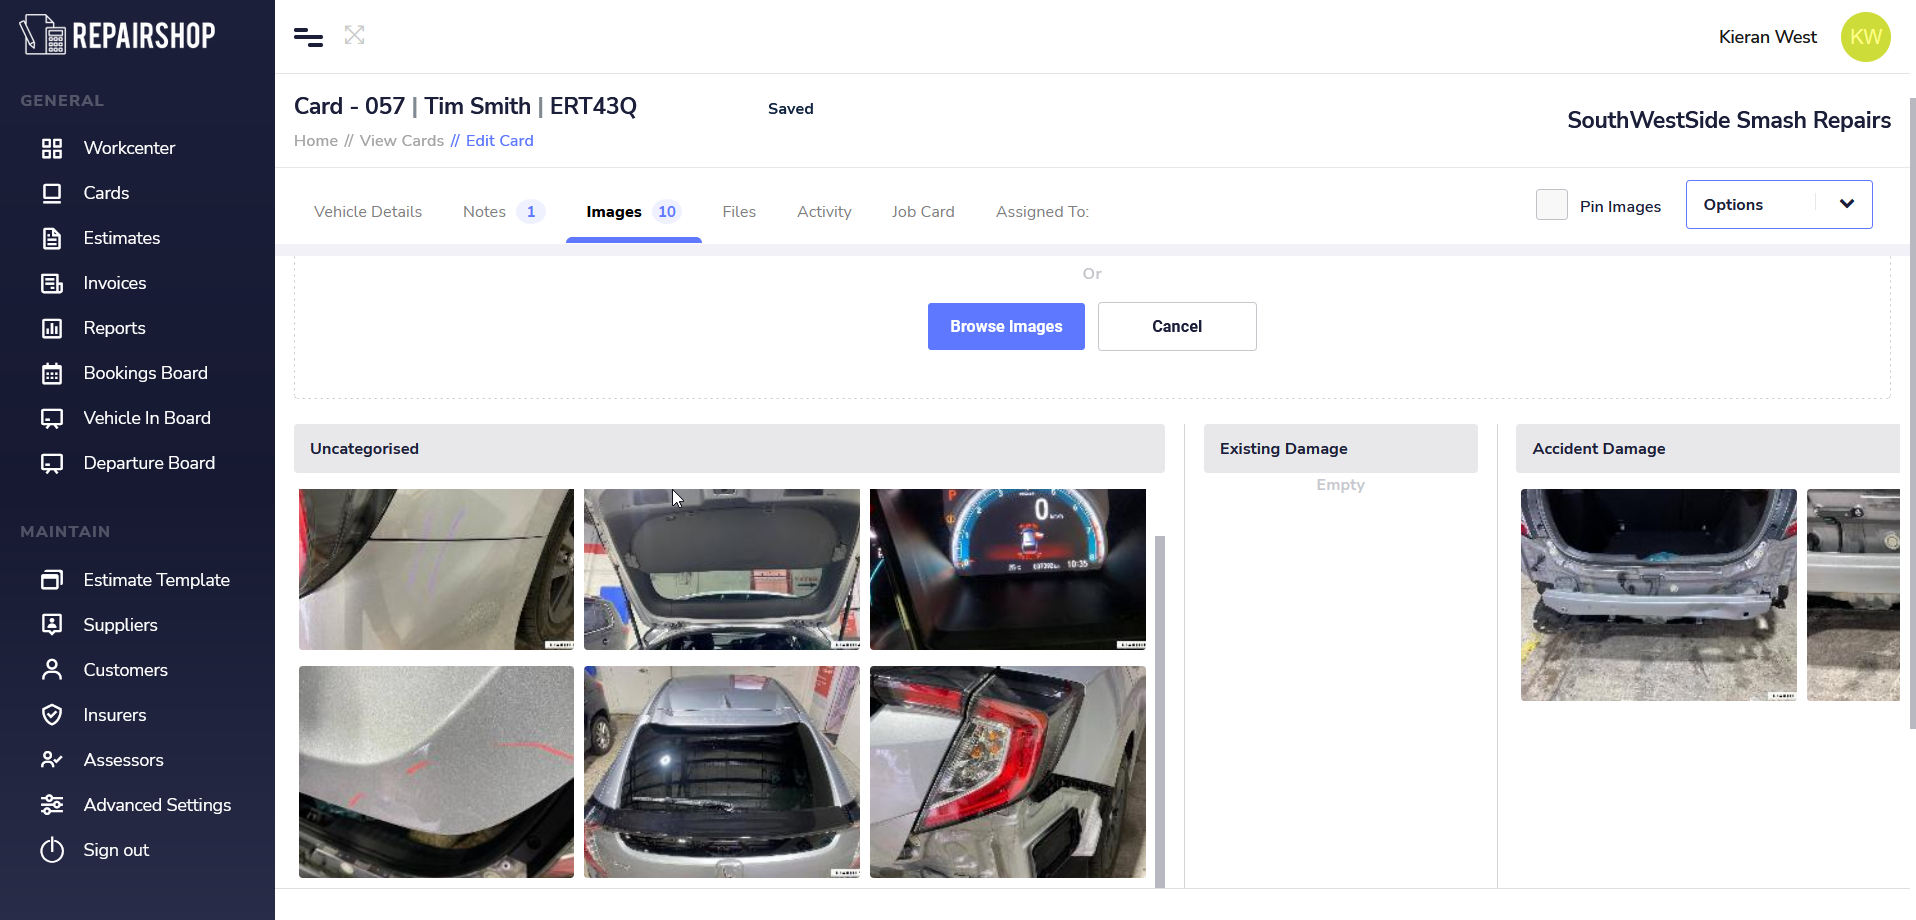
The activity Actions dropdown allows you to perform Etiher Mark As Read or Delete Entry.
- Mark As Read: sets the entry to an item that has been read by a user. It works to change the notification colour of symbols from Blue to grey in the Workcenter, Cards or Estimates view.
- Delete Entry: This permanently deletes the activity list entry. This action is not reversible.
